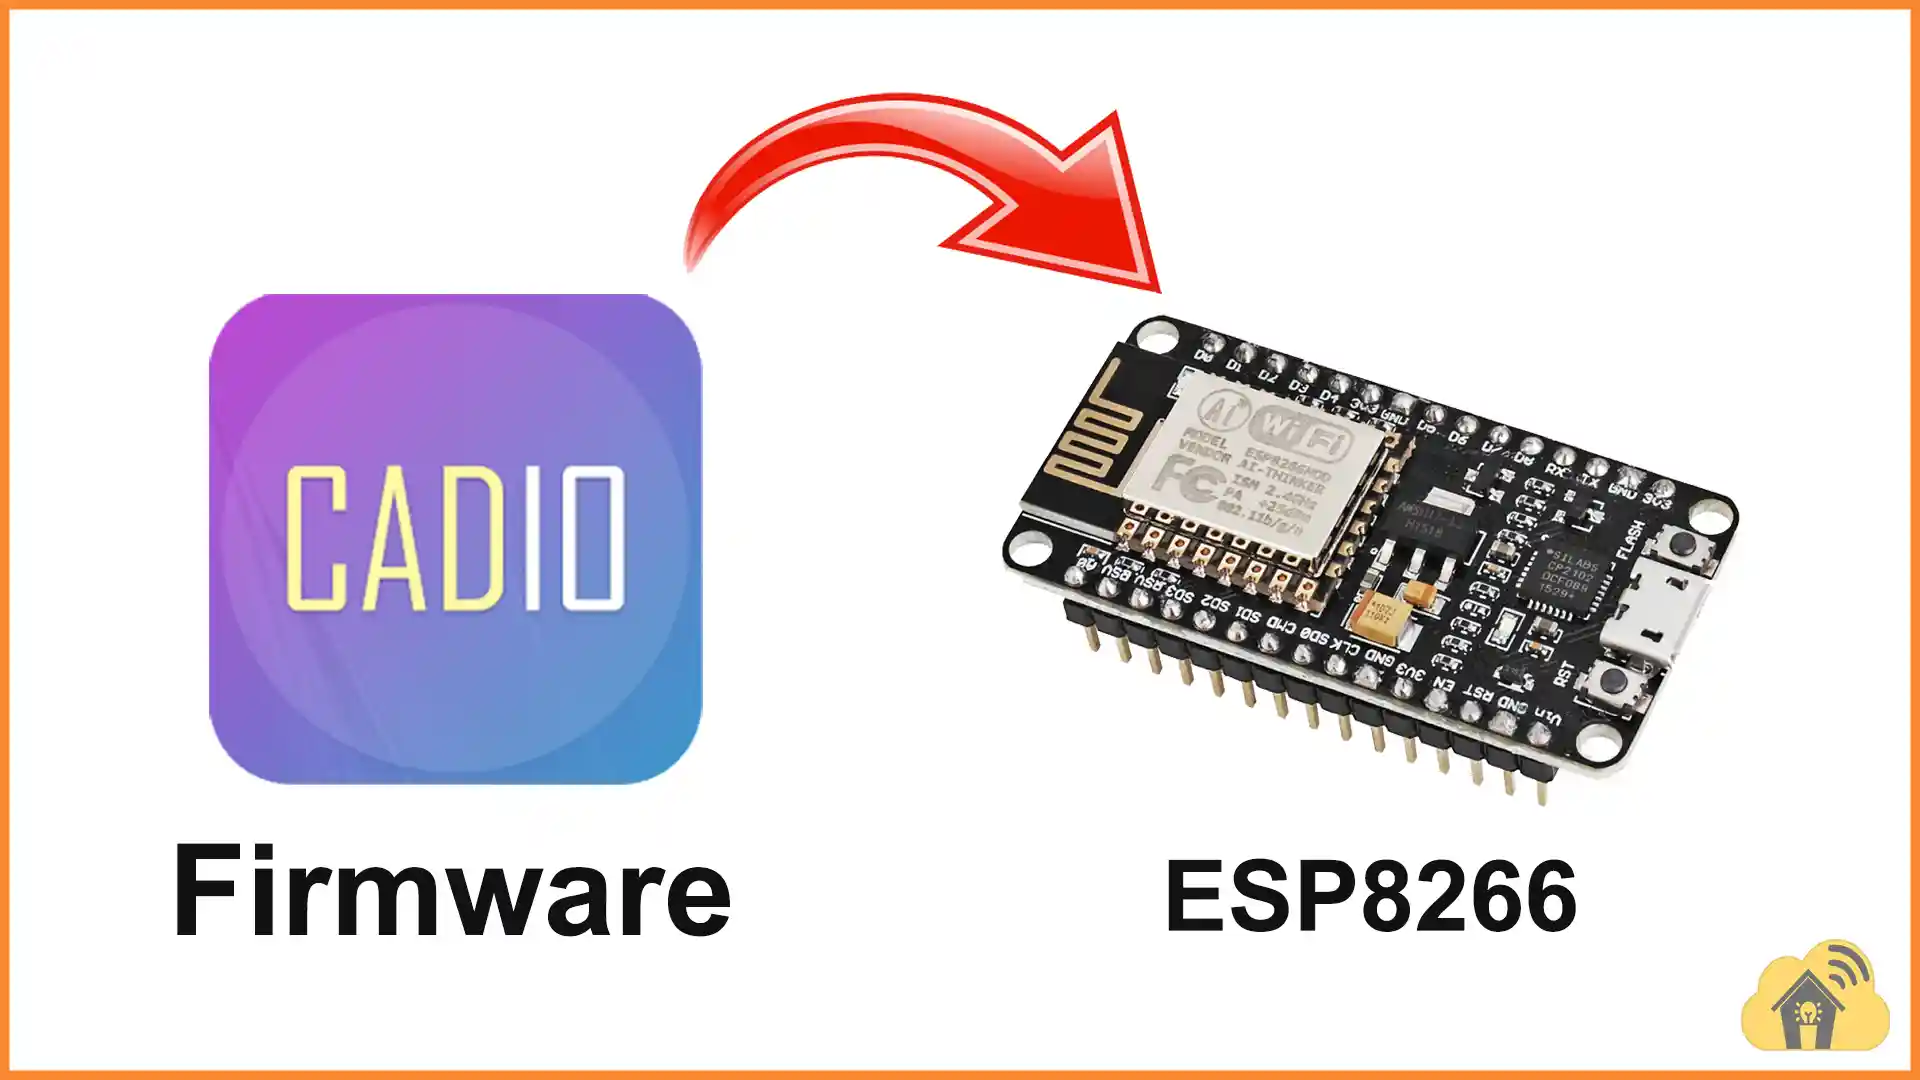
In this article, I have explained how to upload the Cadio Firmware to any ESP8266 development board (NodeMCU, ESP01, etc).
Table of Contents
How to Install Cadio Firmware to ESP8266
Steps to upload the Cadio Firmware to ESP8266
Download ESP8266 Cadio Firmware

First, visit egycad.com/cadio/downloads/
Then download the ESP8266 Firmware and ESP Flash download tool.
After that unzip the file, and connect the ESP8266 with the laptop.
**For ESP-01, make sure ESP8266 is in download mode by connecting GPIO-0 with GND before connecting the ESP-01 with the laptop.
Open the ESP Flash Download tool

First, open the flash_download_tool.exe
Select

Select ChipType “ESP8266”, WorkMode “Develop”, and click OK.
Erase the current flash on ESP8266

Erase the current flash on ESP8266 Select the proper COM port, and click on ERASE.
Start flashing the Firmware on ESP8266

Now, browse the firmware file for ESP8266 and enter the address 0x0.
Select SPI SPEED: 40MHz, SPI MODE: “DIO”.
Make sure that the DoNotChgBin checkbox is activated and the COM port is selected.
Click on Start to flash the firmware. (this will take some time).
After uploading the firmware, press the Reset (RST) button of ESP8266 and wait until the built-in LED starts blinking. (This may take up to 30 seconds).

If the LED is blinking, then it is in the config mode.
In config mode, the inbuilt blue LED will start blinking.

Now you can configure the ESP8266 with the Cadio Home Automation app.


