This guide shows how to use the Preferences library to save data permanently in ESP32 flash memory. Power failures or resets do not affect the data held in flash memory. Data like API keys, threshold values, network credentials, or even the last state of a GPIO can be stored using the Preferences library. This tutorial will teach you how to save and read data from flash memory.
Table of Contents
Preferences Library for ESP32
Preferences.h replaces the EEPROM library. The Preferences library stores variable values through key:value pairs.
It uses a portion of the onboard non-volatile memory (NVS) of the ESP32 to store data. This data is retained across restarts and loss of power events to the system.
Preferences work best for storing many small values, rather than a few large values. If large amounts of data are to be stored, consider using a file system library such as LitteFS.
The Preferences library is usable by all ESP32 variants.
**Arduino IDE automatically installs this library when you install ESP32 boards.
Save Data Using Preferences Library
Data saved with preferences is structured as follows:

Multiple keys can be stored in a single namespace.
A practical example would be to save your network credentials using this configuration:
WiFiCredential {
  ssid: "your_ssid"
  pass: "your_pass"
}
In the above example, WiFiCredential is the namespace, and ssid and pass are the keys.
It is also possible to have multiple namespaces with the same key (each key with a different value):

You should define the data type when using the Preferences.h library. To read that data later, you will need to know the data type. Basically, writing and reading should have the same data type.
Preferences library supports the following data types:
char, Uchar, short, Ushort, int, Uint, long, Ulong, long64, Ulong64, float, double, bool, string and bytes.
For more details, you can access the Preferences.cpp file here.
Useful Functions of ESP32 Preferences Library
First, you need to include Preferences.h into your sketch in order to store data:
#include <Preferences.h>Next, you have to initiate an instance of the Preferences library.
Preferences pref;In the above example, We have defined pref as the instance of the Preferences library.
After that, you can use the following methods to handle data using the Preferences library.
Start Preferences – begin()
The begin() method opens a “storage space” with the namespace defined.
The false argument means that we can use it in read/write mode.
Use true to create the namespace in read-only mode.
pref.begin("Relay-State", false); In the above example, the namespace name is Relay-State. (Here, pref is an instance of the Preferences)
**The namespace name is limited to 15 characters.
Clear Preferences – clear()
Use clear() to clear/delete all keys and values from the currently opened namespace. (it will not delete the namespace):
pref.clear();(Here, pref is an instance of the Preferences)
It will return true if all keys and values were deleted and otherwise it will return false.
Remove Key – remove(key)
Delete the key mentioned from the currently opened namespace:
pref.remove(key);It will return true if the key-value pair was deleted, otherwise, it will return false.
Close Preferences – end()
Use the end() method to close the preferences under the opened namespace:
pref.end();Save Data in ESP32 – Put(Key, Value)
Store a value against the given key in the currently open namespace.
You have to use different methods depending on the variable data type you want to save.
| Data Type | Syntax |
| Char | putChar(const char* key, int8_t value) |
| Unsigned Char | putUChar(const char* key, int8_t value) |
| Short | putShort(const char* key, int16_t value) |
| Unsigned Short | putUShort(const char* key, uint16_t value) |
| Int | putInt(const char* key, int32_t value) |
| Unsigned Int | putUInt(const char* key, uint32_t value) |
| Long | putLong(const char* key, int32_t value) |
| Unsigned Long | putULong(const char* key, uint32_t value) |
| Long64 | putLong64(const char* key, int64_t value) |
| Unsigned Long64 | putULong64(const char* key, uint64_t value) |
| Float | putFloat(const char* key, const float_t value) |
| Double | putDouble(const char* key, const double_t value) |
| Bool | putBool(const char* key, const bool value) |
| String | putString(const char* key, const String value) |
| Bytes | putBytes(const char* key, const void* value, size_t len) |
Read Data from ESP32 – get(Key, defaultValue)
Retrieve the value stored against the given key in the currently open namespace.
Use different methods depending on the variable data type you want to save.
| Data Type | Syntax |
| Char | getChar(const char* key, const int8_t defaultValue) |
| Unsigned Char | getUChar(const char* key, const uint8_t defaultValue) |
| Short | getShort(const char* key, const int16_t defaultValue |
| Unsigned Short | getUShort(const char* key, const uint16_t defaultValue) |
| Int | getInt(const char* key, const int32_t defaultValue) |
| Unsigned Int | getUInt(const char* key, const uint32_t defaultValue) |
| Long | getLong(const char* key, const int32_t defaultValue) |
| Unsigned Long | getULong(const char* key, const uint32_t defaultValue) |
| Long64 | getLong64(const char* key, const int64_t defaultValue) |
| Unsigned Long64 | gettULong64(const char* key, const uint64_t defaultValue) |
| Float | getFloat(const char* key, const float_t defaultValue) |
| Double | getDouble(const char* key, const double_t defaultValue) |
| Bool | getBool(const char* key, const bool defaultValue) |
| String | getString(const char* key, const String defaultValue) |
| String | getString(const char* key, char* value, const size_t maxLen) |
| Bytes | getBytes(const char* key, void * buf, size_t maxLen) |
For more details please click here.
Remove a Namespace
In the Preferences, there is no method to remove a namespace completely. As a result, over the course of several projects, the ESP32 non-volatile storage (nvs) Preferences partition may become full. To completely erase and reformat the NVS memory used by Preferences, use the following sketch:
#include <nvs_flash.h>

void setup() {
  nvs_flash_erase(); // erase the NVS partition.
  nvs_flash_init(); // initialize the NVS partition.
  while(true);
}

void loop() {

}
** You should upload a new sketch to the ESP32 board immediately after running the above, or it will reformat the NVS partition every time it is powered up.
Remember Last GPIO State After RESET
In the following example, we can save the last state of a GPIO of ESP32.
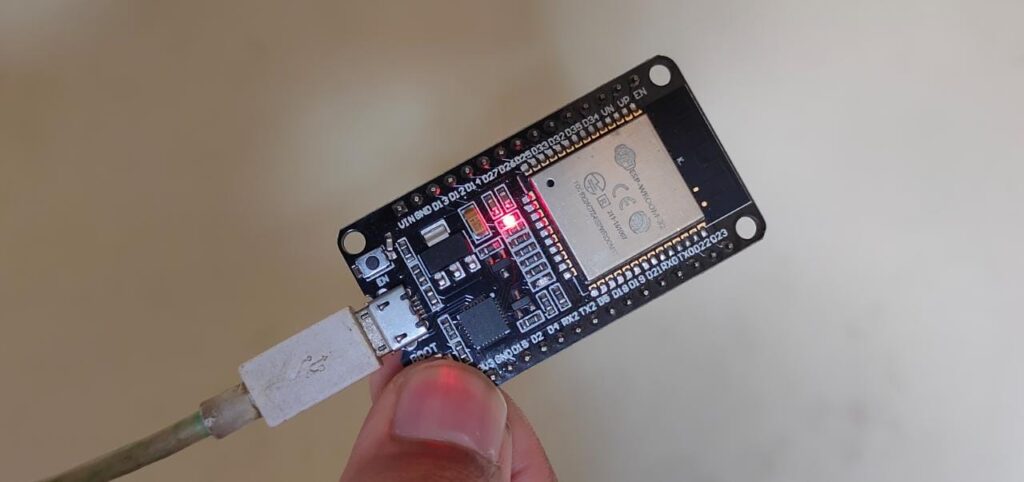
You just need an ESP32, we will use the BOOT button (GPIO-0) to control the built-in LED (GPIO-2).
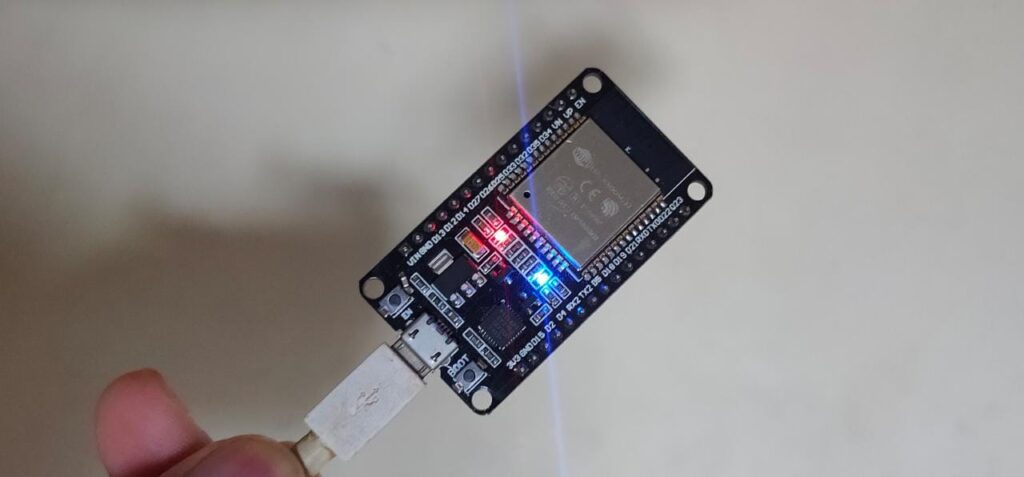
The following sketch can remember the last GPIO state even after resetting or removing power from the ESP32.
 /**********************************************************************************
 *  TITLE: Remember Last GPIO State of ESP32 after RESET using Preferences Library
 *  Related Blog : https://iotcircuithub.com/esp32-projects/
 *  by Tech StudyCell
 **********************************************************************************/

#include <Preferences.h>
Preferences pref;

const int buttonPin = 0; //BOOT button
const int ledPin = 2;   //D2 (inbuilt LED)

bool ledState;
bool buttonState;
int lastButtonState = LOW;

unsigned long lastDebounceTime = 0;  // the last time the output pin was toggled
unsigned long debounceDelay = 50;    // the debounce time

void setup() {
  Serial.begin(115200);

  //Create a namespace called "gpio-state" with read/write mode
  pref.begin("gpio-state", false);

  pinMode(buttonPin, INPUT_PULLUP);
  pinMode(ledPin, OUTPUT);

  // read the last LED state from nvs flash memory
  ledState = pref.getBool("state", false);
  Serial.printf("LED state before reset: %d \n", ledState);
  // set the LED to the last stored state
  digitalWrite(ledPin, ledState);
}

void loop() {
  int reading = digitalRead(buttonPin);

  if (reading != lastButtonState) {
    lastDebounceTime = millis();
  }
  if ((millis() - lastDebounceTime) > debounceDelay) {
    if (reading != buttonState) {
      buttonState = reading;
      if (buttonState == LOW) {
        ledState = !ledState;
      }
    }
  }
  lastButtonState = reading;
  if (digitalRead(ledPin)!= ledState) {
    Serial.println("State changed");
    // change the LED state
    digitalWrite(ledPin, ledState);

    // save the LED state in flash memory
    pref.putBool("state", ledState);

    Serial.printf("State saved: %d \n", ledState);
  }
}How does the Code Works?
Let’s take a quick look at the relevant parts of the code for the above example.
In the void setup(), start by creating a section (namespace) in the flash memory to save the GPIO state. In this example, we have called it “gpio-state”.
pref.begin("gpio-state", false);Get the GPIO state saved on Preferences on the state key. It is a boolean variable, so use the getBool() function. If there is no state key yet (which happens when the ESP32 first runs), return false (the LED will be off).
ledState = pref.getBool("state", false); Turn ON/OFF the LED according to the last state (before RESET).
digitalWrite(ledPin, ledState);Finally, in the void loop() update the state key on Preferences whenever you press the BOOT button.
pref.putBool("state", ledState);Demonstration:
- Upload the code to an ESP32 board.
- Open the Serial Monitor at a baud rate of 115200.
- Press the BOOT button to change the LED state.
- Then remove power or press the EN (Reset) button.
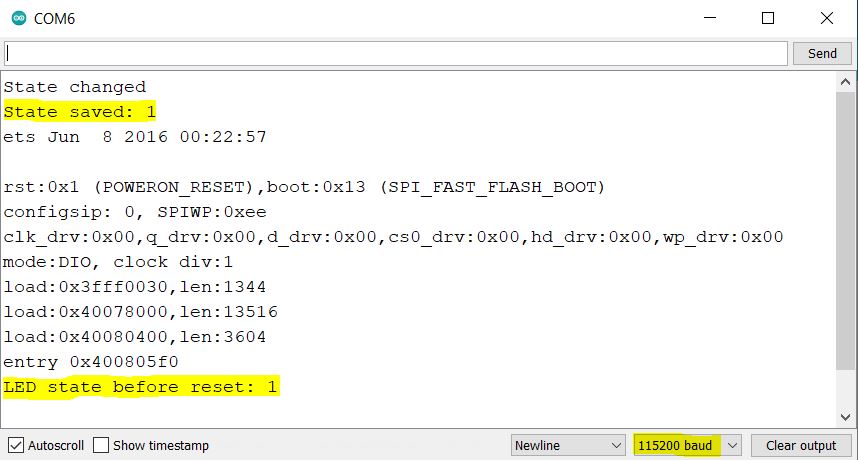
When the ESP32 restarts, it will read the last state saved on Preferences and set the LED to that state.
It also prints a message on the Serial Monitor whenever there is a change in the GPIO state.
Make your own Custom PCB
Design your custom PCBs according to your IoT projects using ESP32 like the following.
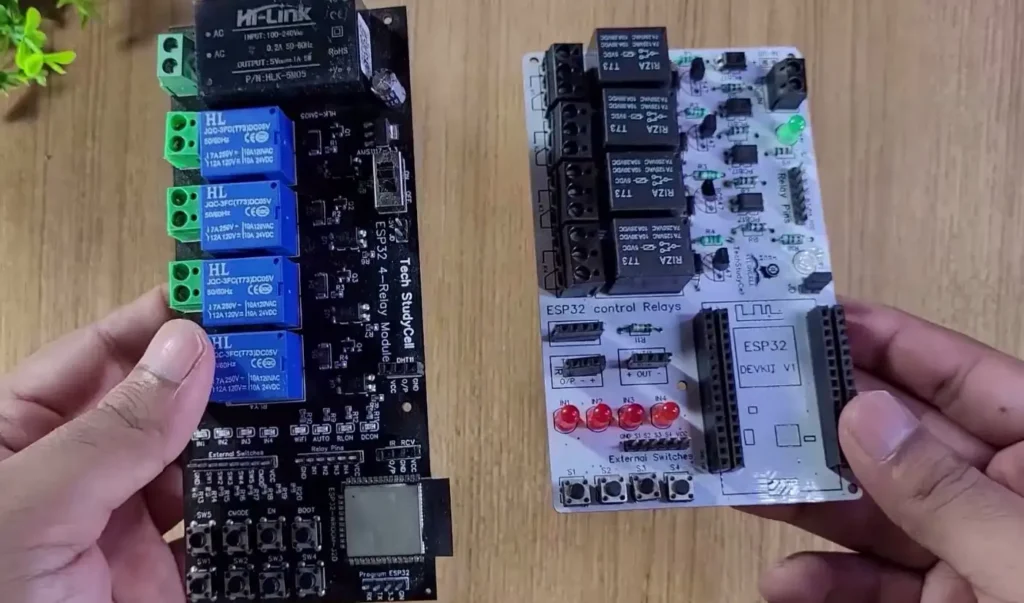
You can order any custom-designed PCBs from PCBWay at very reasonable prices.

PCBWay not only produces FR-4 and Aluminum boards but also advanced PCBs like Rogers, HDI, and Flexible and Rigid-Flex boards, at very affordable prices.
For the online instant quote page please visit – pcbway.com/orderonline
You can also explore different PCB projects from their Open-source community pcbway.com/project/.
For more details please visit the following articles.
Why PCBway
PCB Capabilities
High-Quality PCB

