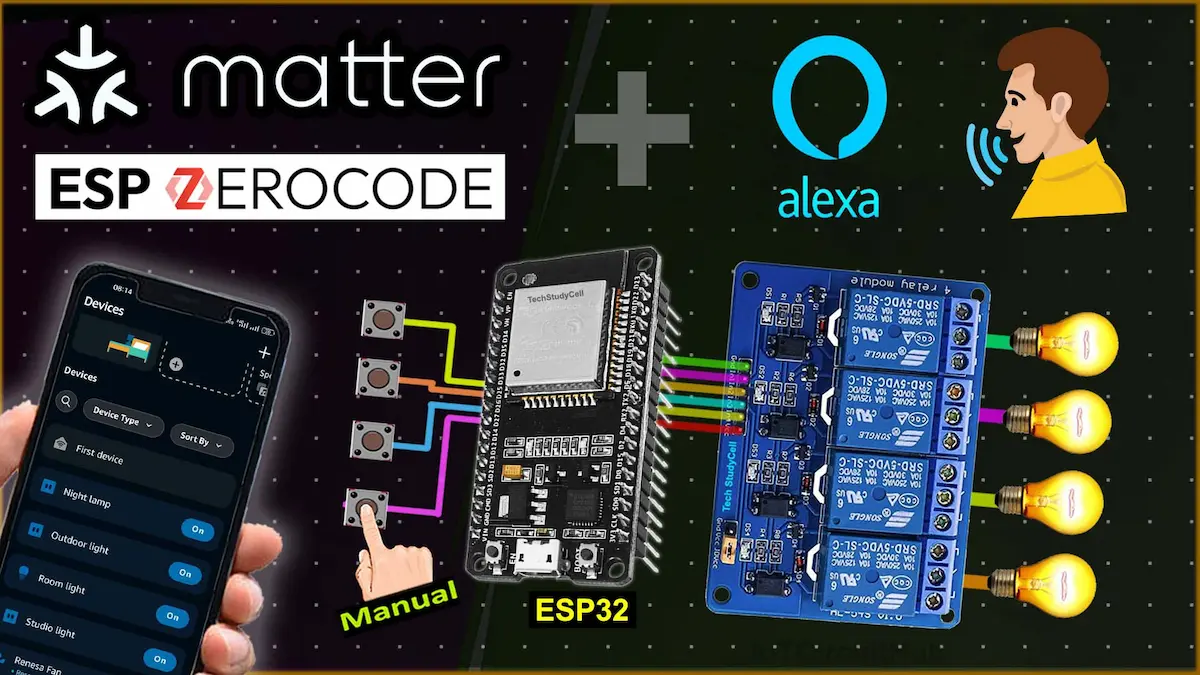
In this IoT project, I have explained how to control multiple relays with Matter protocol using ESP32. Here, I have used the ESP ZeroCode platform to generate the firmware for the ESP32 Matter Protocol project without writing a single line of code.

Here, we will connect the ESP32 to Amazon Alexa using the Matter protocol and use an Echo Dot as a hub.
Table of Contents
Key Features of Matter Protocol

- Interoperability: Works across major smart home ecosystems (Apple HomeKit, Google Home, Amazon Alexa).
- Security: Offers end-to-end encryption, secure onboarding, and device authentication.
- Reliability: Ensures consistent performance and local operation without internet.
- Ease of Use: Features simple setup and intuitive interface.
- Flexibility: Supports various device types and multiple connectivity options (Wi-Fi, Thread, Ethernet).
- Scalability: Handles increasing number of devices, supported by a broad industry alliance.
- Energy Efficiency: Optimized for low power consumption.
- Open Standard: Developer-friendly with comprehensive documentation and large community support.
- Backward Compatibility: Integrates with existing smart home devices and protocols.
- Updates and Maintenance: Regular updates for security and new features with a standardized upgrade process.
These features make Matter robust, secure, and user-friendly for smart home devices.
Required Components:
- ESP32 DevKIT V1 Amazon
- 4-channel 5V SPDT Relay Module Amazon
- Push Buttons Amazon
- Amazon Echo Dot Amazon
Circuit for the ESP32 Matter project

The circuit is straightforward, I have used D23, D19, D18 & D5 GPIO to control the 4-channel relay module.
The GPIO D13, D12, D14 & D27 are connected with push buttons to control the relay module manually.
As per the circuit, when the control pins of the relay module receive a LOW signal the relay will turn on and the relay will turn off for the HIGH signal in the control pin.
I have used a 5V 5Amp mobile charger to supply the circuit.
Please take proper safety precautions while connecting the AC appliances.
Tutorial video on ESP32 Matter Protocol
In the Matter tutorial video, I have covered the following steps in detail.
- Circuit for the ESP32 Matter project.
- How to prepare JSON file in ESP Zerocode for controlling multiple relays.
- Install Matter firmware to ESP32 using ESP ZeroCode.
- Steps to connect Amazon Alexa using Matter protocol.
PCB for the ESP32 IoT project

You can also use the following PCB for this IoT-based home automation project.
You can order any custom-designed PCBs from PCBWay at very reasonable prices.

PCBWay not only produces FR-4 and Aluminum boards but also advanced PCBs like Rogers, HDI, and Flexible and Rigid-Flex boards, at very affordable prices.
For the online instant quote page please visit – pcbway.com/orderonline
You can also explore different PCB projects from their Open-source community pcbway.com/project/.
For more details please visit the following articles.
Why PCBway
Prepare the Firmware for ESP32 Matter Protocol
Now to prepare a Matter-certified firmware and install it to ESP32, we will use the ESP ZeroCode platform.
ESP ZeroCode with Matter Protocol
ESP Zero Code simplifies the initial setup process by eliminating the need for users to write any code. With the Matter protocol, this provisioning process becomes even smoother, as devices can seamlessly join the Matter network without complex configuration steps.

First, visit the ESP ZeroCode: https://zerocode.espressif.com/
ESP Launchpad makes use of WebUSB to communicate with the device. Currently, Safari & Firefox browsers don’t support it yet.
Recommended browser: Google Chrome
Then create an account in ESP ZeroCode.

Login to your account using your email ID and password.
Also, connect the ESP32 to your laptop.

Click on “Create a new product“.

Enter a name for the product. Then click on Start.

Now you have to select the product type according to the product (Socket, Plug Lights, etc).
For this project, we will control the GPIO of ESP32. So select “GPIO” on the left, then select “Plug“.

Now select the type of ESP32 board that you are going to use.
Here, I will use DOIT ESP32 DEVKIT V1, so I have selected “ESP32-WROOM-32E” under ESP32.
Now click on “Next step“.

Here we will control multiple relays, so you have to click on “Text Mode“.
Then update the JSON file according to your circuit. (Please refer to the tutorial video).
Also refer to this article: ESP ZeroCode Product Documentation
Otherwise, you can also download the JSON file for this project.
Unzip the JSON file, and open it in Notepad. Then copy-paste it on the “Text Mode” tab.
Click on “Save & Validate“. Then go to “Next step“.

Click on “Evaluate now in ESP Launchpad“.
It will start preparing the firmware. (It may take some time.)
Now click on “Connect your Device“. (Make sure the ESP32 is connected with the laptop.)

Select the proper COM port where ESP32 is connected, then click on “Connect“.
Then it will start uploading the firmware to ESP32.

After uploading the firmware, you will get the Matter QR code for the device.
You can use this QR code to connect the ESP32 with different IoT platforms.
Here we will add the device to Amazon Alexa. So the Echo Dot must be connected to the same WiFi network.
Now turn on the Bluetooth and Location/GPS on your mobile and open the Amazon Alexa app.
Connect Alexa using the Matter QR code

- Open the Amazon Alexa app, go to “Device” and tap on “+” icon.
- Tap on “Add Device“.
- Select “Light“.
- Scroll down and select “Other“.
- Tap on “matter“.

Now scan the matter QR code.

Then select the WiFi name. ESP32 will be connected to this WiFi network.
Tap on “Next”, and the device will be added to the Alexa app.
Under the Device, you will find new devices called “First Plug“, “Second Plug“, “Third Plug“, and “Fourth Plug“.
Rename the Devices in the Alexa App
Steps to rename devices in the Amazon Alexa app:
- Tap on the device name.
- Tap on the “Gear icon” to go to settings.
- Tap on “Edit Name“, and enter the new name for the device.
- Exit from the settings.
Repeat these steps to change all the device names.
Only the Echo Dot and ESP32 must be connected with the same WiFi network. But your mobile can be connected to any different network.
Connect the Appliances with the PCB/Relay Module

Now control the appliances with the Amazon Alexa app through the internet from anywhere in the world.

You can also control the appliances manually with the push buttons. If the ESP32 is connected to WiFi, you can monitor the real-time feedback on the Alexa app.
I hope you like this Smart house IoT project idea with the Espressif ESP32.
Click Here for more such ESP32 projects.
Please do share your feedback on this IoT project. Thank you for your time.


