In this IFTTT Blynk tutorial, I have explained how to connect Blynk with Google Assistant using IFTTT. I have also shared the syntax for the new Blynk Webhook URL to update Datastream value in the Blynk IoT Cloud server.
For connecting the IFTTT with the Blynk server, you need the Blynk server address for your region and the Authentication Token for the Blynk project.
Table of Contents
How to get the Blynk Cloud server address?
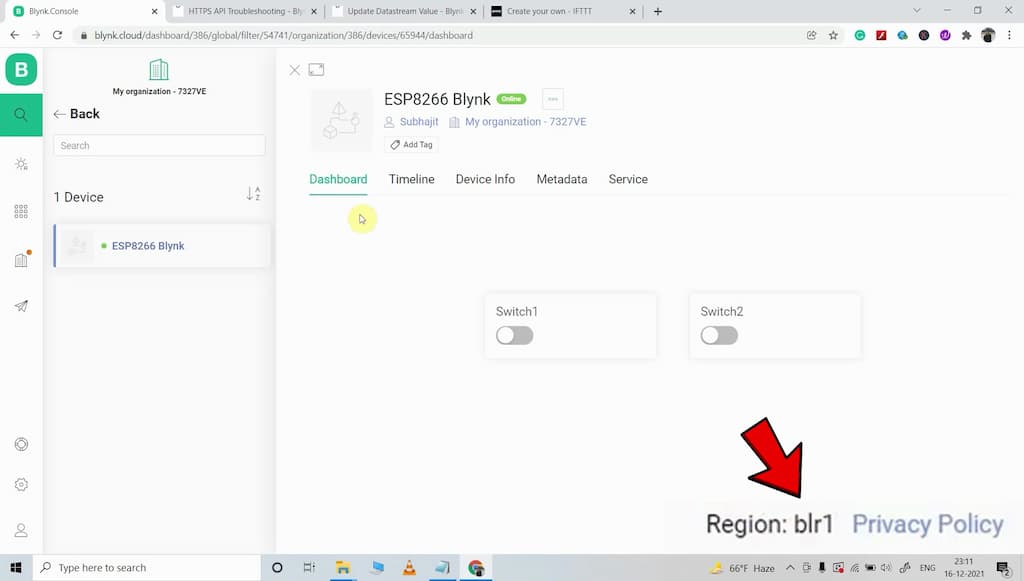
First, you have to identify the region of the Blynk server. For that login to the Blynk account, then go to device. You can find the region at the bottom right corner. After that, visit Blynk Server Address Details to get the server address according to the region.
How to get the Blynk Auth Token for any Projects?
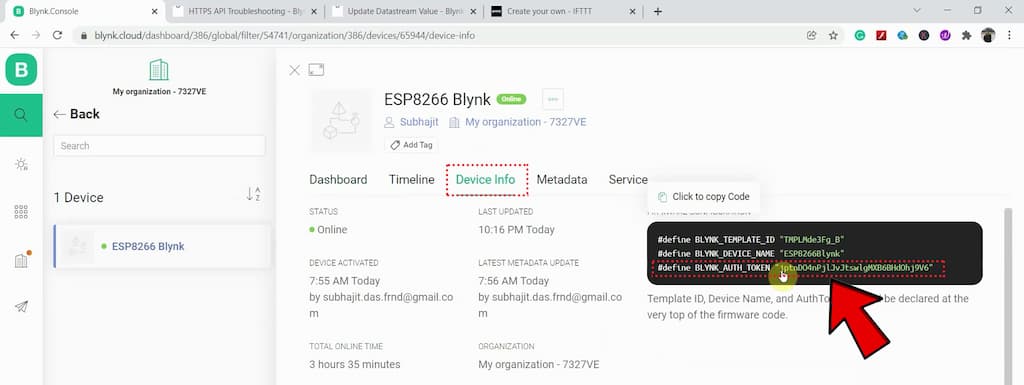
Login to the Blynk account, then go to the Devices tab and click on the device name to get all the details related to that device. Now to get the Auth Token, go to the “Device Info” tab. Then copy the Blynk Auth Token.
Blynk URL for IFTTT Webhook

URL syntax: https://{server_address}/external/api/update?token={token}&{pin}={value}
Here update the {server_address} as per the region, then enter the {token} (Auth Token) and related {pin} for the Datastream and the {value} to be updated.
In the following example, I am sending value “1” to Datastream connected with the V1 (virtual) pin.
You need the URL to update the Datastream values for any Blynk project in the Blynk Cloud.
For example, I have created 2 Datastreams with V1 and V2 virtual pins to control 2 relays.

Now to update the Datastream value for V1, I have to mention v1 at {pin} and the value I want to send at {value}
How to Connect IFTTT Blynk to integrate Google Assistant
Follow these steps to connect Blynk with Google Assistant using IFTTT.
Create Account in IFTTT
Visit the following link and create a FREE account in IFTTT.
Create Applet in IFTTT with Blynk Webhook URL

After login, first, you have to create Applet. For that click on the “Create” button on the top.
For each applet, you have to create a trigger and an action. Here if you say any pre-define commands in Google assistant, then the related Webhook request will be sent to the Blynk Cloud server.
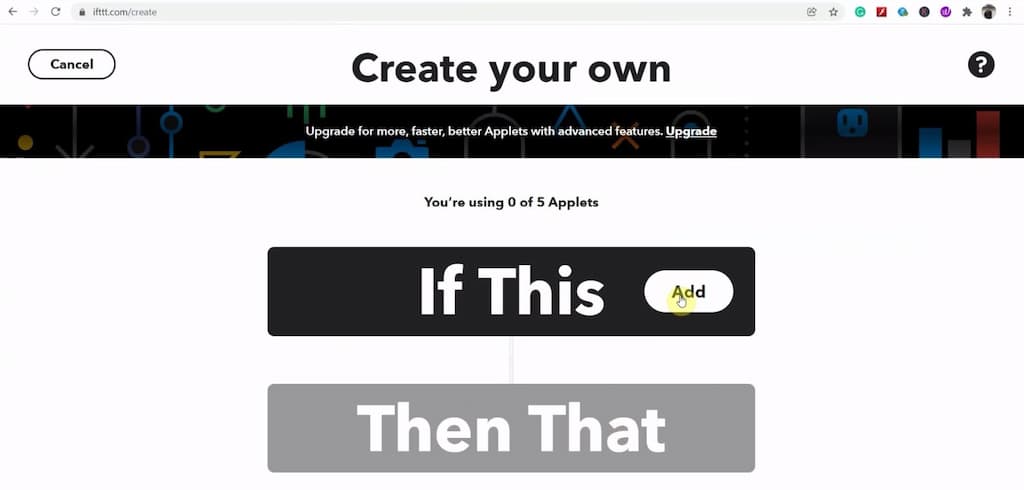
In the trigger, you have to select Google Assistant. For that click on the “Add” button.
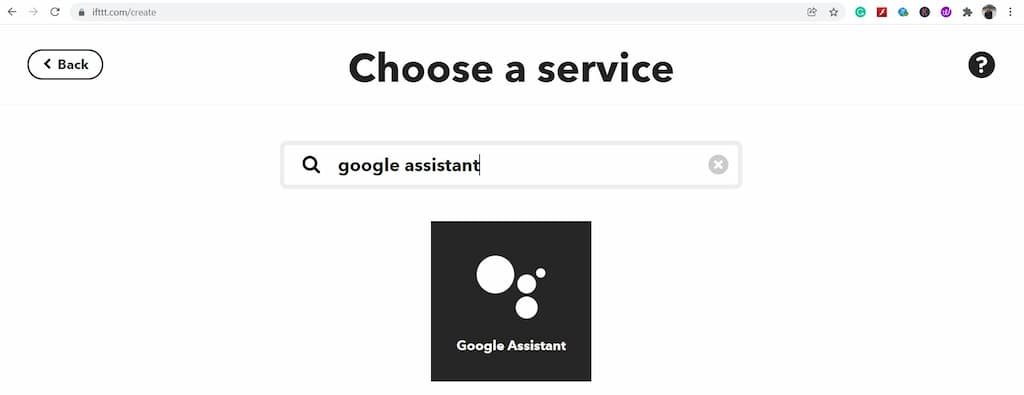
Then search for Google Assistant and click on it.
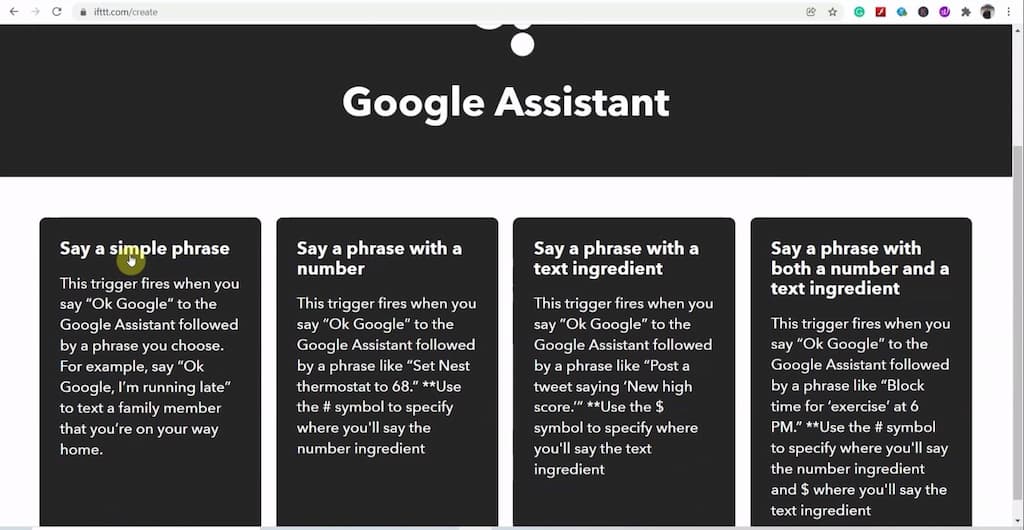
Click on “Say a simple phrase“. You also select other options as per your requirements.
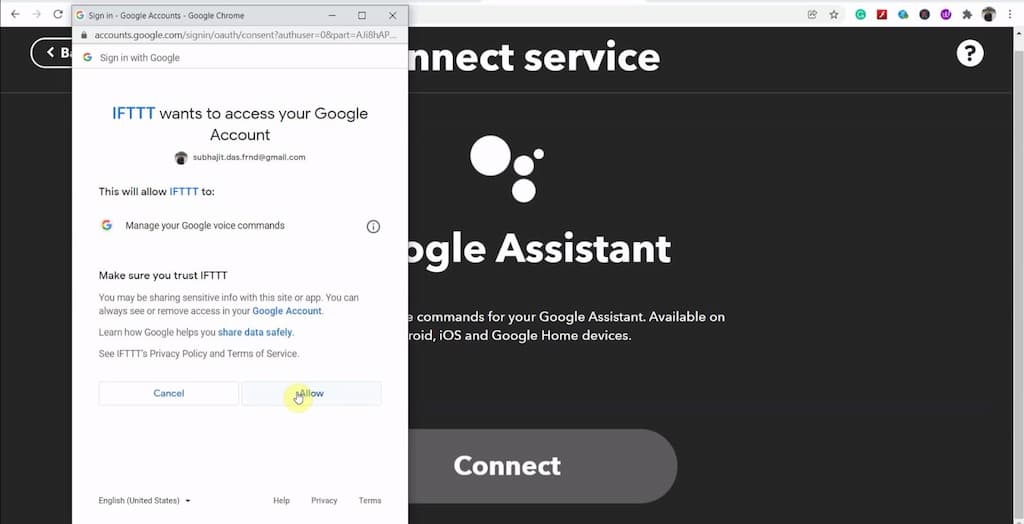
Then click on “Connect” and give the required permission from the google account which you use for the Google Assistant.
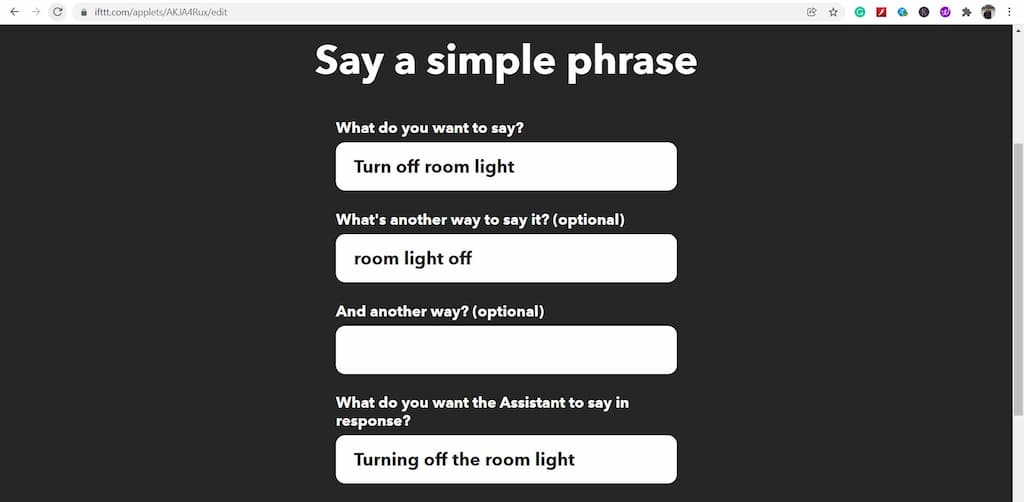
After that, you have to enter what you want to say to Google Assistant to send the Webhook request to the Blynk server and what Google Assistant to say in response.

Now, click on the “Create trigger” button.
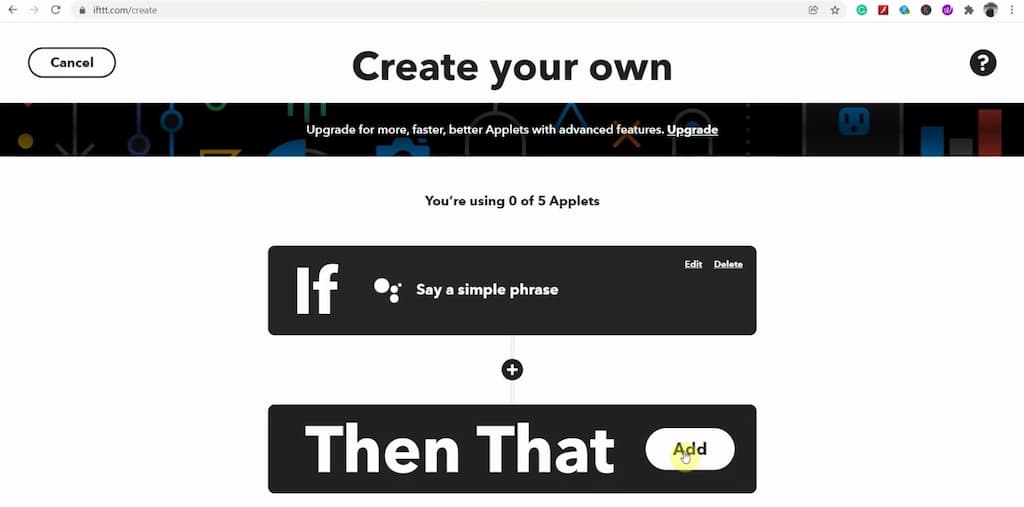
Now you have to create action for the trigger you have just created. So click on the next “Add” button.
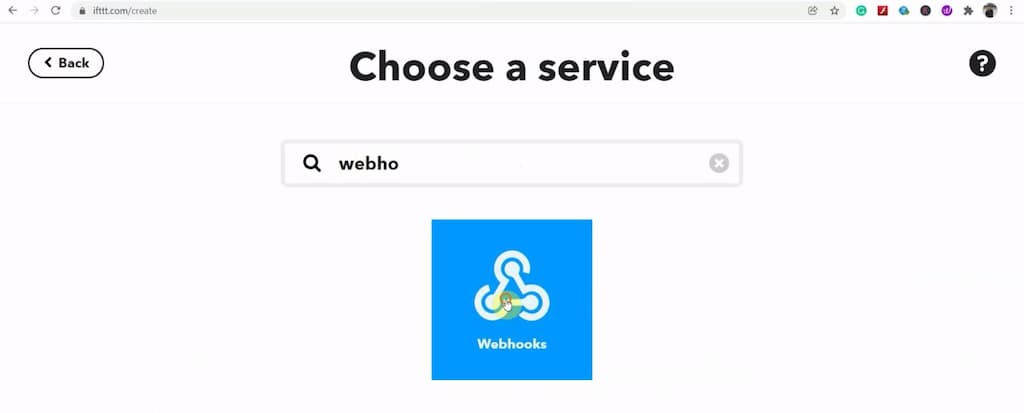
Then search for Webhooks and click on it.
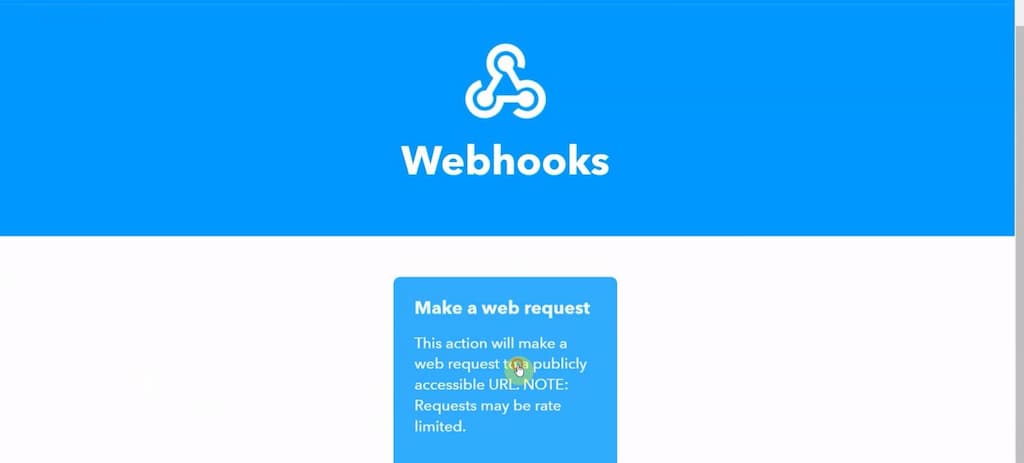
Click on “Make a web request“.
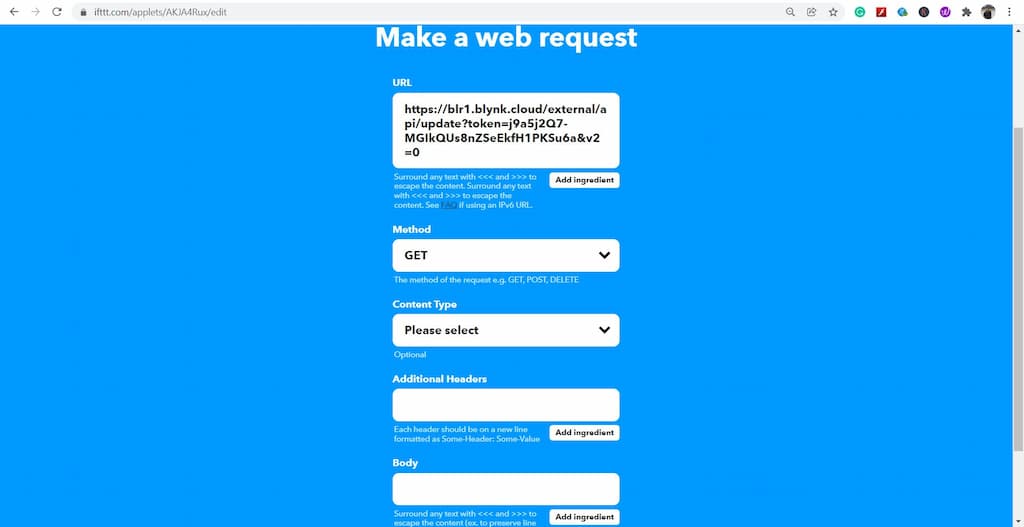
Now, enter the related Blynk URL to update the Datastream value. The method will be “GET”. Keep other details as it is.

Click on the “Create action” button.
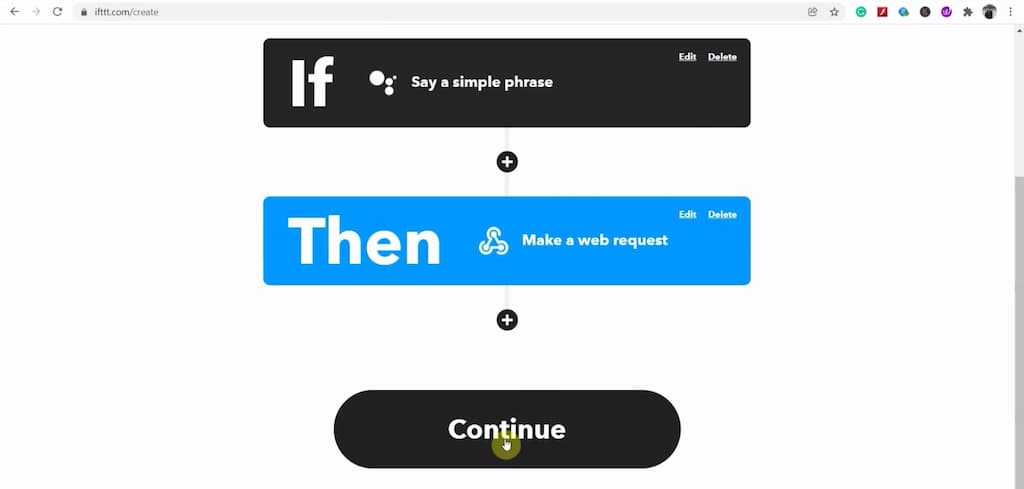
We have created both the trigger and action for the first applet. So click on “Continue”.
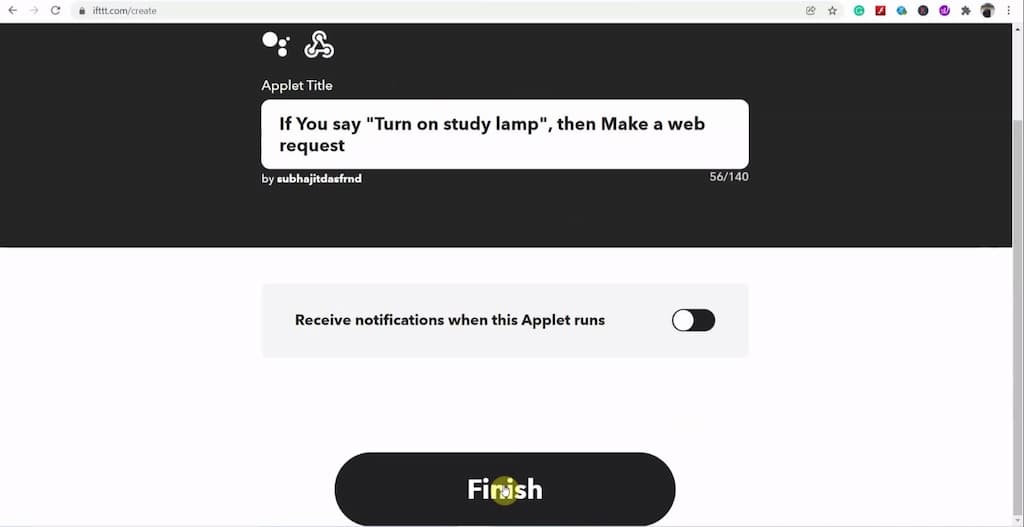
Now click on the “Finish“.
In a similar way, you can create multiple applets to send multiple web requests to update the Datastream values in the Blynk server.
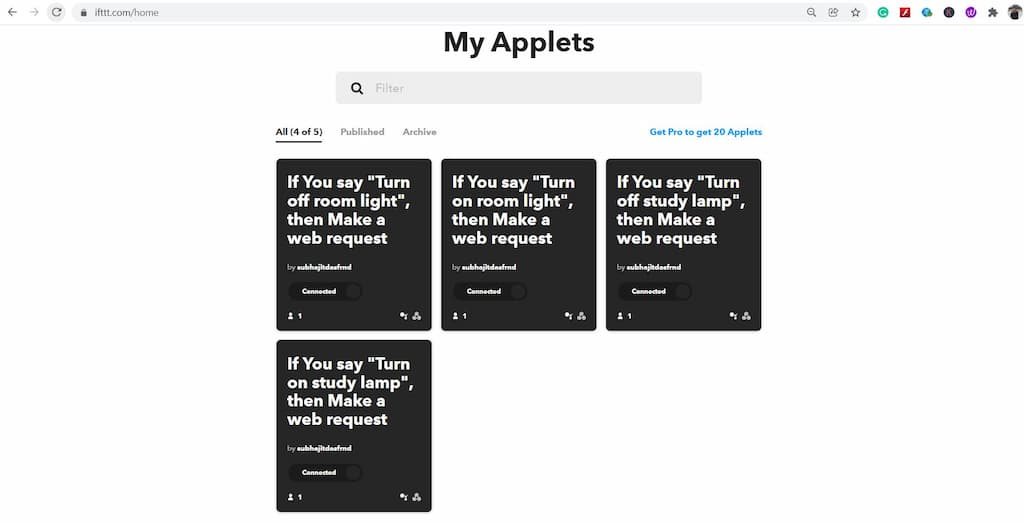
To control the 2 relays I have created 4 applets in IFTTT.
You need one applet to turn on the relay and another one applet to turn off the relay. So you need 2 applets for each relay.
In this article, I have tried my best to explain all the steps to connect Blynk with Google Assistant using IFTTT.
Please do share your feedback on this Tutorial. Thank you for your time.

