In this article, I have explained how to add a device to the new Blynk IoT platform using a template. After adding the device, Blynk will generate an Authentication Token that can be used for controlling any microcontroller from Blynk IoT App through the internet.
First, you have to create a template in Blynk Cloud. You can refer to the following article to set up the new Blynk cloud account.
Getting started with New Blynk 2.0 IoT platform
Then follow these steps to add a device and generate an Authentication Token.
Steps to Add Device in Blynk Cloud using Template

First, go to Devices and then click on “New Device“.

Click on “From template“.

Now, select the Template that you created for this Blynk project and enter a device name.
Then click on “Create“.

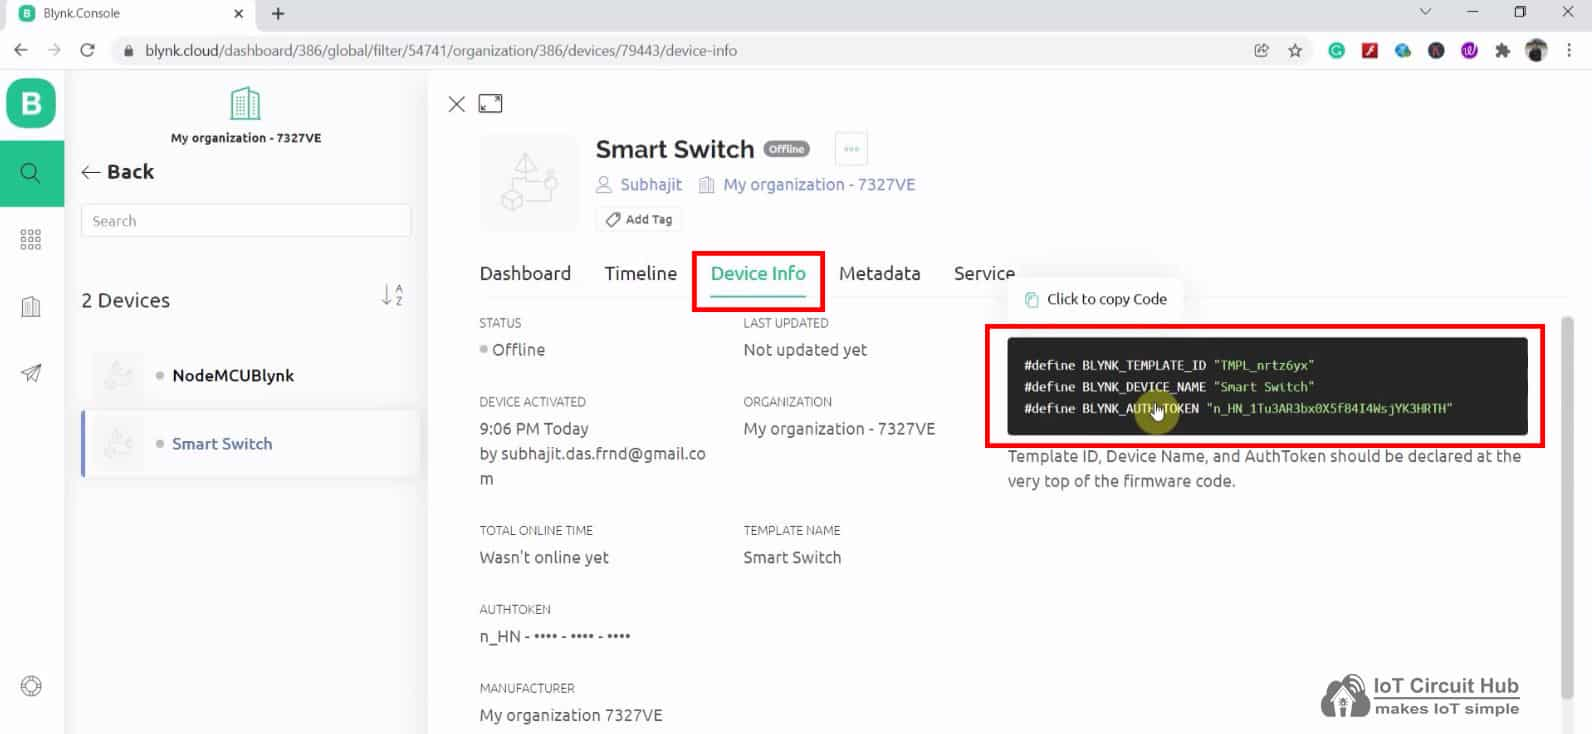
After adding the device, click on Devices in the left menu, then click on the device name from the list.

Now, click on the “Developer Tools” icon and scroll down.

You will get the Template ID, Template Name, and Blynk Auth Token. All these details will be required in the code.
You can use these details to program the microcontroller and control it from the Blynk IoT platform.


