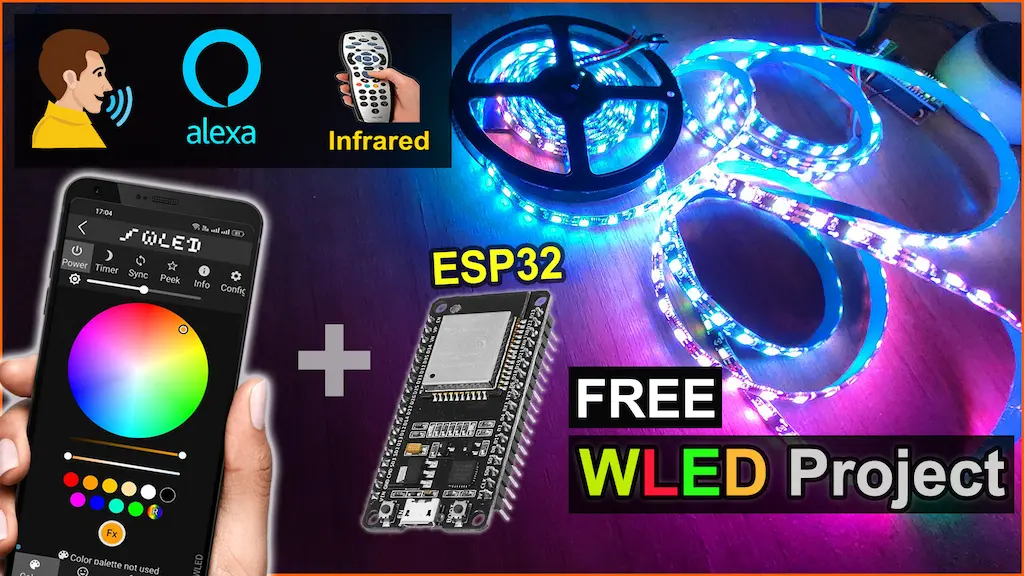
In this IoT tutorial, I have explained how to make an IoT-based WLED Project using ESP32 Alexa to control any RGB LED strip with voice commands, IR remote, and manual switch.

For this ESP32 project, I used a FREE IoT platform called the WLED app. You don’t have to write a single-line code, just upload the WLED firmware, and configure it from the WLED mobile app.
For Alexa control, you must have an Amazon Echo Dot. WLED hosts its own web server on the ESP32 chip itself, so the WLED app is not even required. If you want, you can configure it from the web browser.
For the 5V LED strip, you can make the project just by using an ESP32 or ESP8266 and WS281x RGB LED strip. For 12V LEDs, you need a voltage regulator.
Table of Contents
Required Components:
- ESP32 DevKIT V1 Amazon
- WS281x RGB LED strip
- TSOP1838 IR Receiver (with metallic case) Amazon
- 7805 voltage regulator (for 12V LEDs)
- Pushbutton or switches
- AC Capacitors (100nF & 330nF) optional
- Amazon Echo Dot
Circuit for the ESP32 WLED DIY project

In the circuit, I have connected D25 with the Din pin of the LED strip. And used a 7805 voltage regulator to provide the 5V supply to ESP32.
If you want to add the IR remote control and manual buttons, then refer to the following circuit.

Here, I have connected the IR receiver sensor with D35 GPIO and the pushbuttons are connected with D21 & D5 GPIOs.
The capacitors are optional, they are used just to make the circuit more stable.
Tutorial video on Alexa ESP32 WLED Project
In the WLED tutorial video, I have covered the following steps in detail.
- Circuit for the ESP32 WLED project.
- Upload firmware to ESP32 for the WLED project.
- Setup WLED app for ESP32 Project
- Steps to add WLED in the Amazon Alexa app.
- Limitations of the WLED platform.
Upload WLED firmware to ESP32

Here we have used the WLED web installer to upload the firmware.
You just need a browser like Google Chrome or Microsoft Edge.
Then visit WLED Web Installer – https://install.wled.me
Select the latest firmware version and install it.
In the following article, I have explained all the steps in detail.
Steps to Install WLED Firmware
PCB for this ESP32 WLED project
To make the circuit compact, I have designed a PCB for this WLED IoT project.

If you want, you can also use this PCB to make the circuit compact and give the project a professional look. This PCB can be used for any other ESP32 WLED project.
You can order any custom-designed PCBs from PCBWay at very reasonable prices.

You can also explore different PCB projects from their Open-source community pcbway.com/project/.

PCBWay Design Contest has always encouraged participants to engage in open-source and innovative projects, aiming to inspire more individuals to become a member of the electronics community.

In the contest, you have the opportunity to enter a wide range of submissions related to electronic design, spanning FPGA, IoT projects, wearables, embedded electronics, and also encompassing mechanical design, product design, or 3D design.
For more details please click here.
Connect the LED strip with ESP32

The Din pin of the LED strip should be connected with D25 GPIO. You can identify the Din and Do terminals from the arrow mark on the LED strip.
Also, count the number of LEDs in the strip.
After checking all the connections, turn on the supply.
Connect the ESP32 with the WLED app

Install the WLED app from the Google Play Store or App Store.
Make sure the ESP32 and your mobile are connected to the same WiFi network.
Now follow these steps to add the device to the WLED app.

- Open the WLED app, and tap on the “+” icon to add the device.
- Tap on the “DISCOVER LIGHTS” button.
- After it finds the WLED, tap on the Tick icon.
- Your WLED device will be added. Tap on the device to see the dashboard.
Configure the ESP32 from WLED app
Now you have to configure the ESP32.

- Tap on “Config“.
- Tap on the “LED Preferences” button.
- Now select the LED type, color order, number of LEDs in the strip, and the GPIO connected to the Din pin.
- Select the GPIO for Buttons, GPIO connected with the IR receiver, and IR remote type. Then Save it and tap on “Back“.

Now you can control the LED strip, change brightness, effect from the WLED app.

You can also control the LED strip (ON-OFF) with IR remote and the first push button.
With the second push button, you can change the mode or effect.
Connect Amazon Alexa with WLED app
To connect Amazon Alexa app, you must have an Echo Dot connected to the same WiFi network.

- Now again go to “Config” and tap on “Sync Interfaces” button.
- Enable the “Emulate Alexa device” check box, give a name for the WLED device, and then Save it.
- Tap on “Back“.
Add devices to Amazon Alexa app

- Open the Amazon Alexa app, go to “Device” and tap on “+” icon.
- Tap on “Add Device“.
- Select “Light“.
- Scroll down and select “Other“.
- Tap on “Wi-Fi“.
- Tap on “Discover Devices“.
This will take some time, during this time the ESP32, Echo Dot, and mobile must be connected to the same WiFi network.
Once the Alexa app found the device, follow these steps.

- Tap on “Set Up Device”, and skip it.
- Again go to Device, then tap on “Lights”.
- Select “RGB Light” or the name given by you.
Now you can control the WLED strip with voice commands using Alexa.

If the WiFi is available, you can monitor the real-time feedback on the Amazon Alexa app.I hope you like this IoT-based home automation system idea with ESP32 and Amazon Echo Dot.Click Here for more such ESP32 projects.Please do share your feedback on this IoT project. Thank you for your time.


