IoT-based home automation is becoming increasingly popular, and the ESP01 ESP8266 is one of the smallest and most affordable WiFi modules to get started. In this article, I will explain how to build a simple yet powerful IoT project using ESP01 that allows you to control a relay using Alexa, Google Assistant, Sinric Pro app, and a manual switch.


The best part of this project is that it is completely beginner-friendly. I have used only the free plan of Sinric Pro, and there is no need to use Arduino IDE. Sinric Pro’s Zero-Code platform and AI code editor make it possible for anyone to create an IoT project without writing complex code.


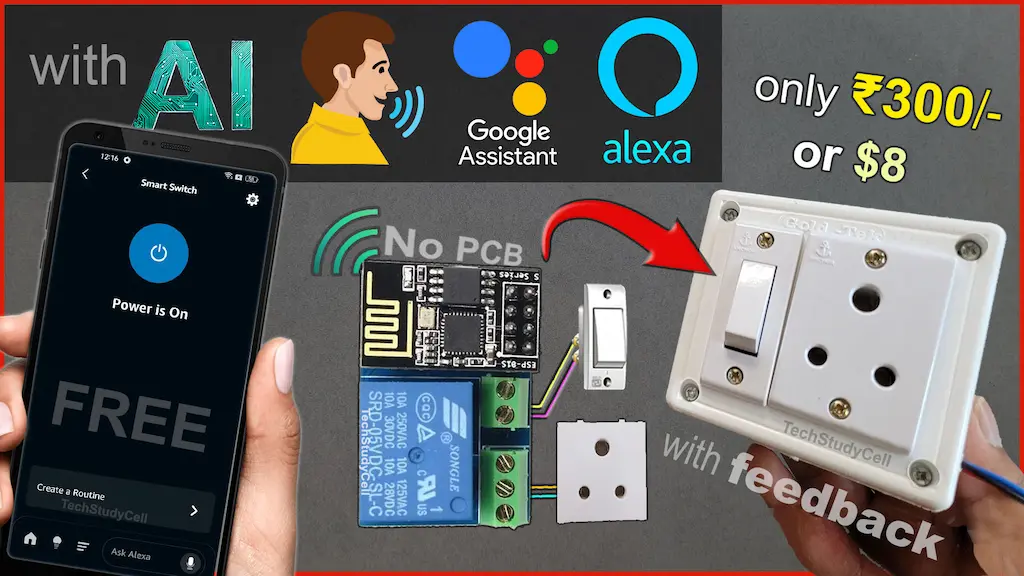
This ESP01 IoT project lets you control an electrical appliance (like a light or fan) in multiple ways:
- Voice control using Amazon Alexa
- Voice control using Google Assistant
- Mobile app control using Sinric Pro
- Manual switch control (works even without WiFi)
- Real-time relay feedback on Alexa and Sinric Pro dashboard
If WiFi is not available, the relay can still be controlled locally using a switch. Once WiFi reconnects, the device automatically syncs its state with the cloud.
Table of Contents
Required Components:

Circuit of the ESP01 ESP8266 Relay IoT project

In the circuit, you can use any 5V DC power supply.
The switch is connected across GPIO-3 of the ESP01 and GND.
The socket is wired between the NO and COM terminals of the relay.
The relay control pin is connected to the GPIO-0 of the ESP-01.
Instead of the socket, you can also connect a lamp with the relay as per the following circuit.

Please take proper safety precautions while connecting the AC appliances.
Tutorial video on ESP01 IoT Project
In the ESP01 tutorial video, I covered the following topics.
- Explained the circuit of programming the ESP01 using FTDI232 & Arduino UNO.
- How to configure the Sinric Pro for ESP8266.
- How to generate source code using the Zero-Code features of Sinric.
- How to edit code with AI (YAKA).
- Upload the Auto-generated code to ESP01 from the Sinric platform.
- Circuit for connecting all the components with ESP01 relay.
- Add the device to the Google Home app.
- Add the device to the Amazon Alexa app.
Circuit for Programming ESP01
Please refer to this article for Programming ESP-01 using Arduino IDE.

Connect the GPIO-0 with GND and press the RESET button to enter programming mode.
Configure Sinric Pro for ESP8266

For this ESP8266 project, I have used the Sinric Pro Free account. First, you have to add devices to the Sinric Pro account.
I have already explained, how to set up and add devices to Sinric Pro in the following article.
Program ESP8266 ESP-01 with Sinric Pro
In this project, I have used the “Zero Code” features of the Sinric Pro to generate the source code. Please refer to the related tutorial video for the steps.
Steps to Generate Code with Zero Code

Click on the Zero-Code button and select the Device.

Select “Has Switch button connected”.

Enter the GPIO details as per the circuit. (Relay GPIO-0, Button GPIO-3 & Mode Active LOW)

Enter the WiFi name and Password. Then click on “Open in YAKA“.
Now the code will open in Sinric Pro.

You can also use Sinric Pro’s AI code editor to edit the code with a simple prompt.
Here I have modified the code for the “Active-LOW” relay module with the help of AI YAKA (Please refer to the above picture).

After that, just select the board “Generic ESP8266 Module” and the proper COM port.
Then click on “Compile & Upload“.
Note: While uploading, if you get any error, just make sure the GPIO-0 is connected to GND, and press the Reset button. Then again, click on “Compile & Upload“.

For reference, you can download the code from the following button.
Code for the ESP01 Relay module
If you use the same circuit, you can upload the same code after updating WIFI_SSID, WIFI_PASS, APP_KEY, and APP_SECRET in the code.
PCBWay – Professional PCB Assembly Services
PCBWay not only produces FR-4 and Aluminum boards but also advanced PCBs like Rogers, HDI, and Flexible and Rigid-Flex boards, at very affordable prices.

Enjoy up to 50% OFF at PCBWay’s Christmas Big Sale, running from Nov 28 to Dec 31, 2025! (Click Here)

- Log in to your PCBWay account
- Go to Personal Center → My Coupons
- Enter your promo code
- Click Check to verify the code
- Click Apply to your balance
- Coupon is added and ready to use
Connect the ESP01 with the circuit

After programming, connect the ESP01 ESP8266 with the relay and switch as per the circuit.
Please take proper safety precautions while working with high voltages.
Add the Smart Switch to Google Home & Alexa
Now, please refer to the following articles for connecting the Sinric Pro Account with Amazon Alexa and Google Home App.
After doing all these steps, now you control the appliances with Google Assistant and Alexa.

Conclusion
This ESP01 ESP8266 IoT Project using Sinric Pro proves that you don’t need complex hardware or paid platforms to build a smart home device. With just an ESP01 relay module and Sinric Pro’s free plan, you can create a powerful, reliable, and voice-controlled smart relay.
If you are new to IoT or want a quick automation project with professional features, this is an excellent place to start.
Click Here for more such ESP8266 projects.
Please do share your feedback on this IoT project. Thank you for your time.


