Table of Contents
Description
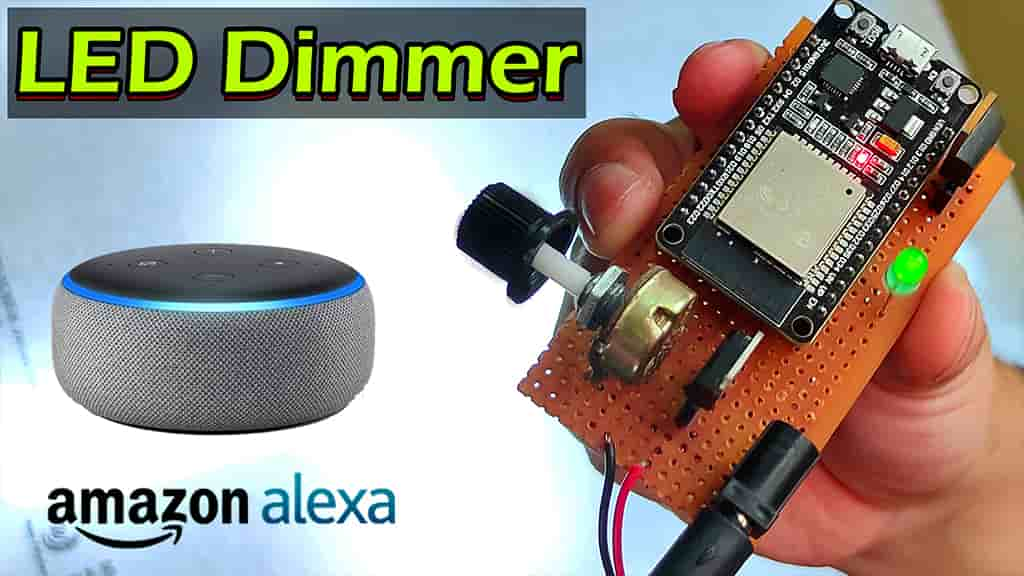
In this ESP32 project, I have shown how to make ESP32 PWM LED dimmer with voice control using Alexa. If the internet is available then you can control the LED brightness with the voice command and you can also control the brightness manually with a potentiometer if there is no internet.
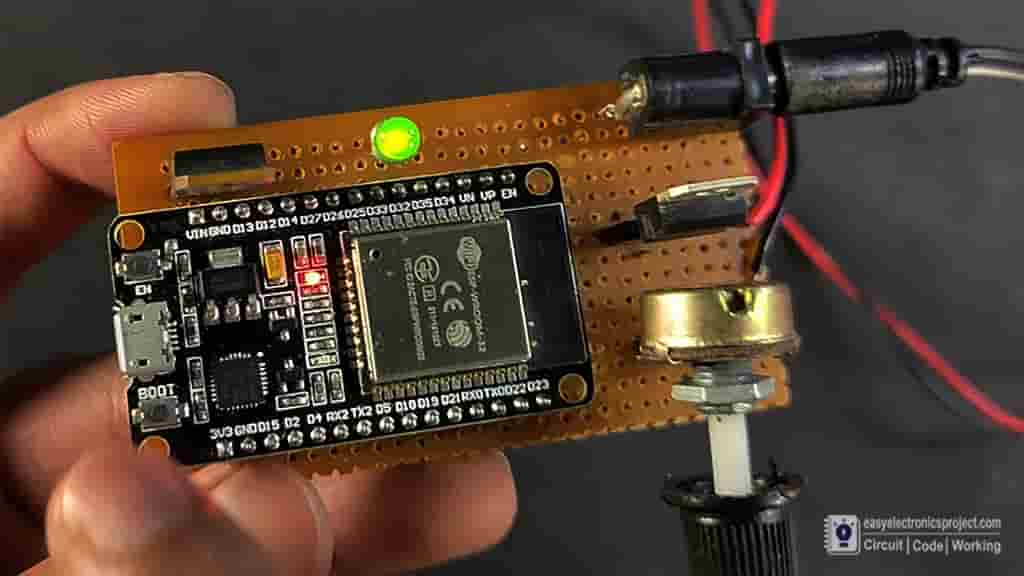
As the PWM technique is used to control the brightness, so this is also very energy efficient. And you will not notice any flickering effect due to high PWM frequency.
Different PWM circuit:
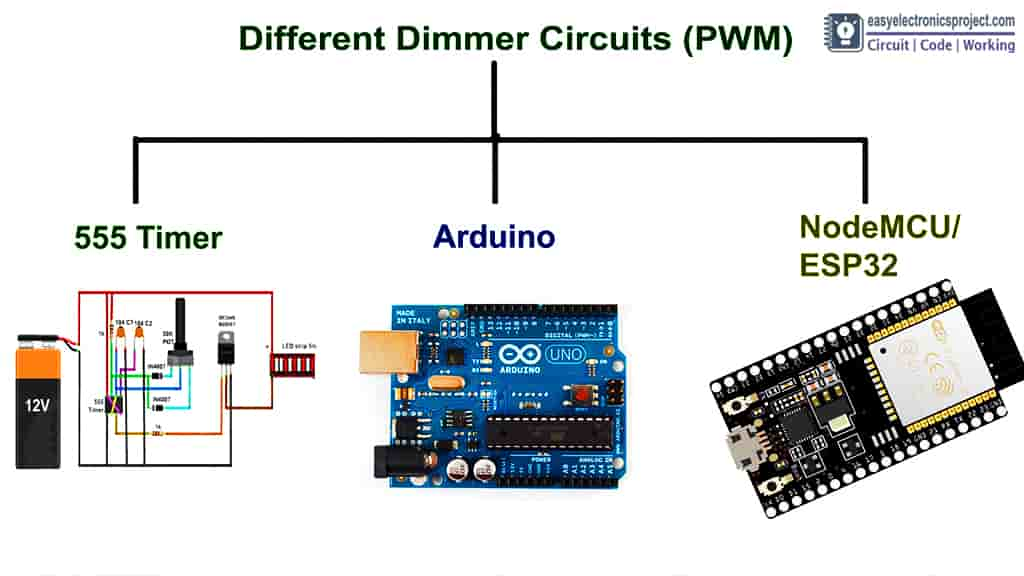
The are different types of PWM circuits. You can also use 555 timer IC, Arduino, NodeMCU to design LED dimmer. But each circuit has it’s own limitations.
For the 555 IC PWM circuit you will notice flickering as frequency is low.
For Arduino you can not control the brittleness with internet.
But with ESP32 PWM circuit you will not notice any flickering and also brightness can be controlled with voice command.
Circuit Diagram of ESP32 PWM LED Dimmer
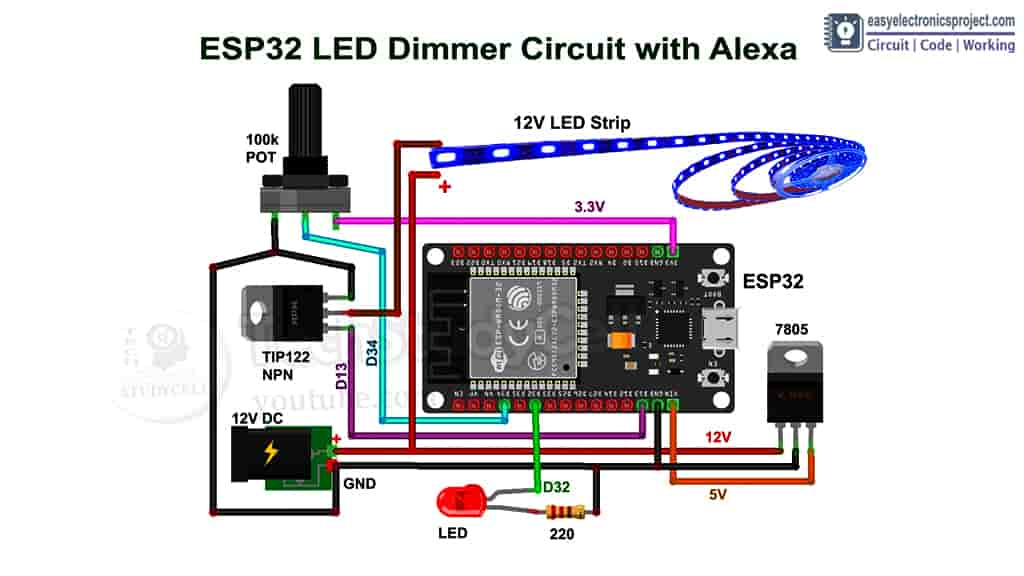
As you can see, the circuit is very simple. You can directly connect the 12V DC supply at the input. The 7805 voltage regulator converts 12V to 5V and fed the 5V to ESP32. Then LED connected with the D32 GPIO pin, will turn on when WiFi is connected. If the WiFi is not available then you can control the brightness with the 100k potentiometer.
Required Components for this ESP32 Project:
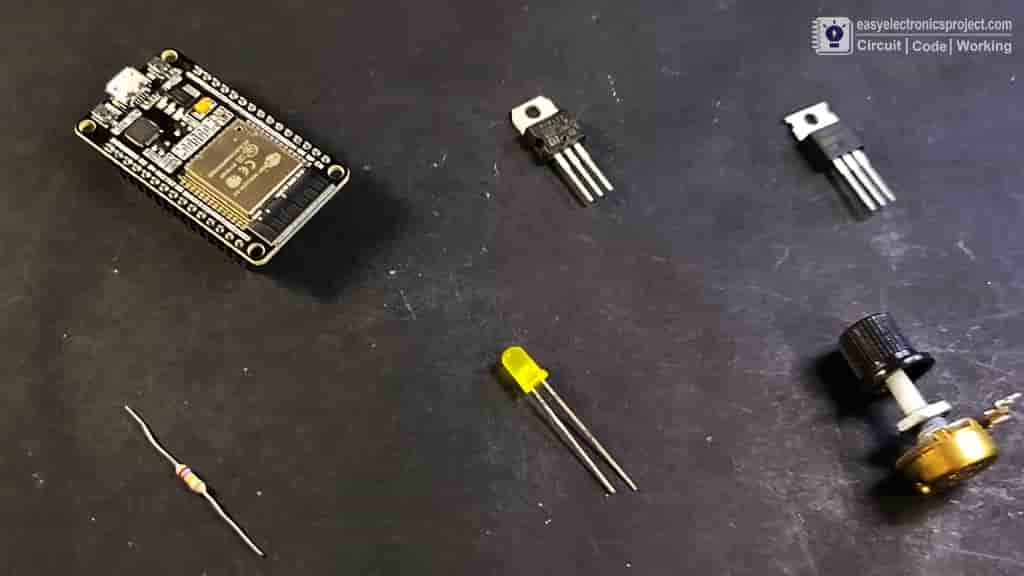
- ESP32 Board
- 7805 (5v) voltage regulator
- MOSFET or TIP122 Transistor
- 5-mm LED
- Potentiometer 100k
- 220-ohm resistor
- DC jack
- Zero PCB
- Alexa Echo Dot speaker
Tutorial video on Alexa ESP32 PWM Dimmer
In the ESP32 tutorial video I have explained all the details in steps. So please watch the complete video.
Testing ESP32 PWM Circuit
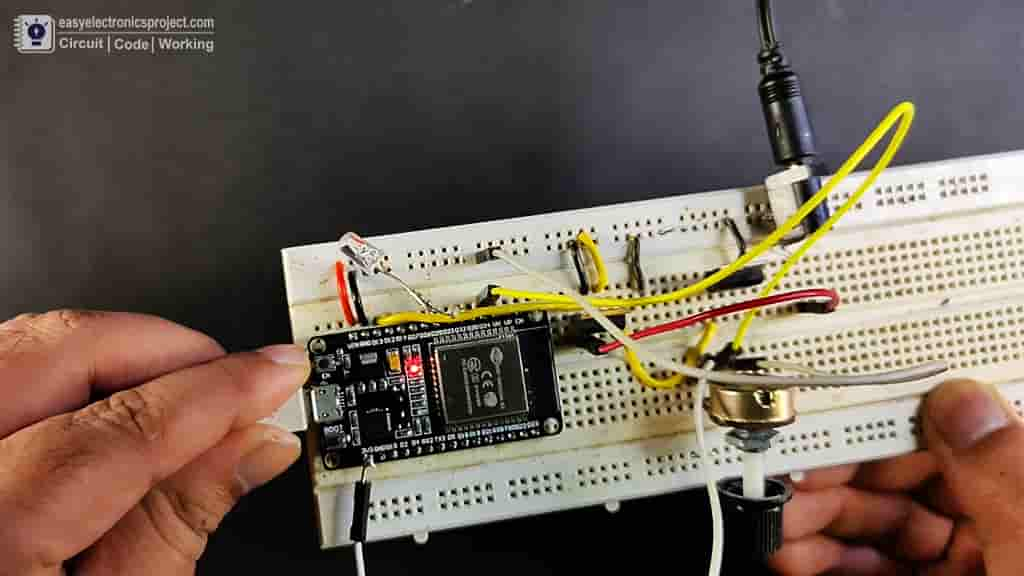
Before designing the circuit on PCB, I have made the circuit on breadboard for testing.
Program ESP32 with Arduino IDE
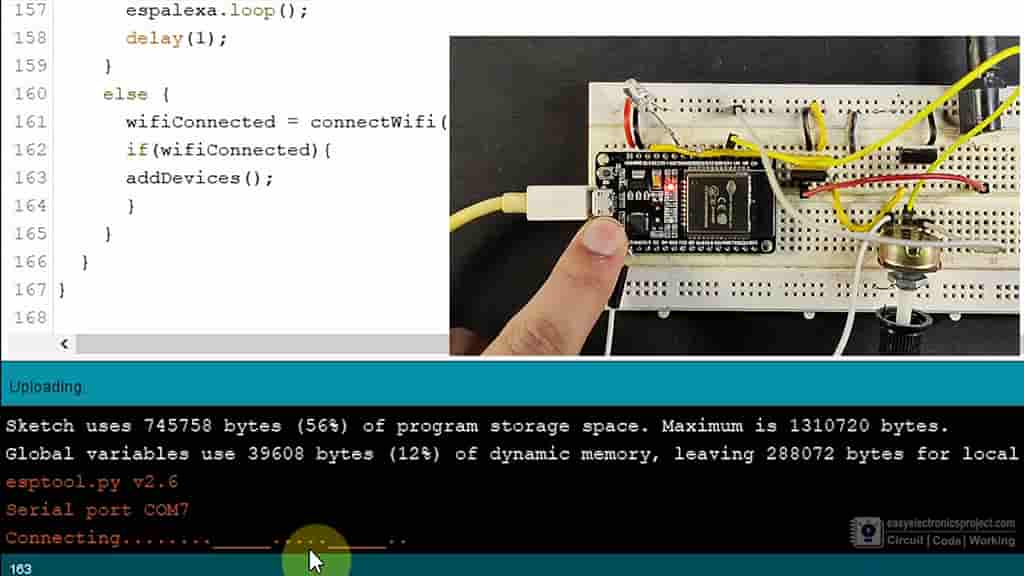
For this IoT project, you have to install the ESPAlexa before programming the ESP32 board.
Click Here to download ESPAlexa library.
Update the Preferences –> Aditional boards Manager URLs: https://dl.espressif.com/dl/package_esp32_index.json, http://arduino.esp8266.com/stable/package_esp8266com_index.json
In the tutorial video, I have explained how to program ESP32 with Arduino IDE in detail.
Code for ESP32 Alexa LED Dimmer
#ifdef ARDUINO_ARCH_ESP32
#include <WiFi.h>
#else
#include <ESP8266WiFi.h>
#endif
#include <Espalexa.h>

// prototypes
boolean connectWifi();

//callback functions
//void firstLightChanged(uint8_t brightness);
void firstLightChanged(EspalexaDevice* dev);

// define the GPIO connected with Relays
const int ledPin_1 = 13; // the PWM pin the LED is attached to
const int potPin   = 34; // Potentiometer Pin
const int wifiLed  = 32; // Wifi indicator LED Pin

// WiFi Credentials
const char* ssid = "Wifi Name";
const char* password = "Wifi Password";

// device names
String Device_1_Name = "Studio lights";

// setting PWM properties
const int freq = 2000;
const int ledChannel_0 = 0;
const int resolution = 8;

uint8_t brightness;
int potValue = 0;

boolean wifiConnected = false;

Espalexa espalexa;

// connect to wifi – returns true if successful or false if not
boolean connectWifi()
{
  boolean state = true;
  int i = 0;

  WiFi.mode(WIFI_STA);
  WiFi.begin(ssid, password);
  Serial.println("");
  Serial.println("Connecting to WiFi");
  // Wait for connection
  Serial.print("Connecting...");
  while (WiFi.status() != WL_CONNECTED) {
    delay(500);
    Serial.print(".");
    if (i > 20) {
      state = false; break;
    }
    i++;
  }
  Serial.println("");
  if (state) {
    Serial.print("Connected to ");
    Serial.println(ssid);
    Serial.print("IP address: ");
    Serial.println(WiFi.localIP());
  }
  else {
    Serial.println("Connection failed.");
  }
  return state;
}

void addDevices(){
  // Define your devices here.
  espalexa.addDevice(Device_1_Name, firstLightChanged, EspalexaDeviceType::dimmable, 127); //Dimmable device, optional 4th parameter is beginning state (here fully on)
  espalexa.begin();
}

//our callback functions
void firstLightChanged(EspalexaDevice* d) {
  if (d == nullptr) return;

  brightness = d->getValue();
  Serial.print(brightness);

  ledcWrite(ledChannel_0, brightness);
  delay(15);
}

void setup()
{
  Serial.begin(115200);
  pinMode(potPin, INPUT);
  pinMode(wifiLed, OUTPUT);

  // configure LED PWM functionalitites
  ledcSetup(ledChannel_0, freq, resolution);

  // attach the channel to the GPIO to be controlled
  ledcAttachPin(ledPin_1, ledChannel_0);

  // Initialise wifi connection
  wifiConnected = connectWifi();

  if (wifiConnected)
  {
    addDevices();
  }
  else
  {
    Serial.println("Cannot connect to WiFi. So in Manual Mode");
    delay(1000);
  }
}

void loop()
{
  if (WiFi.status() != WL_CONNECTED)
  {
    Serial.print("WiFi Not Connected ");
    Serial.println(wifiConnected);
    digitalWrite(wifiLed, LOW);

    potValue  = analogRead(potPin);
    brightness = map(potValue, 0, 4095, 0, 255);

    ledcWrite(ledChannel_0, brightness);
    delay(15);

    Serial.print(potValue);
    Serial.print("  ");
    Serial.println(brightness);
  }
  else
  {
    Serial.print("WiFi Connected  ");
    Serial.println(wifiConnected);
    digitalWrite(wifiLed, HIGH);
    if (wifiConnected){
      espalexa.loop();
      delay(1);
    }
    else {
      wifiConnected = connectWifi(); // Initialise wifi connection
      if(wifiConnected){
      addDevices();
      }
    }
  }
}
Enter the following details in the code:
- WiFi Name at “WiFi Name”
- WiFi Password at “WiFi Password”
Now select the board as ESP32 DEVKIT V1 and the PORT in Arduino IDE. Then click on the upload button to program the ESP32 board.
Configure Alexa App for this ESP32 Project
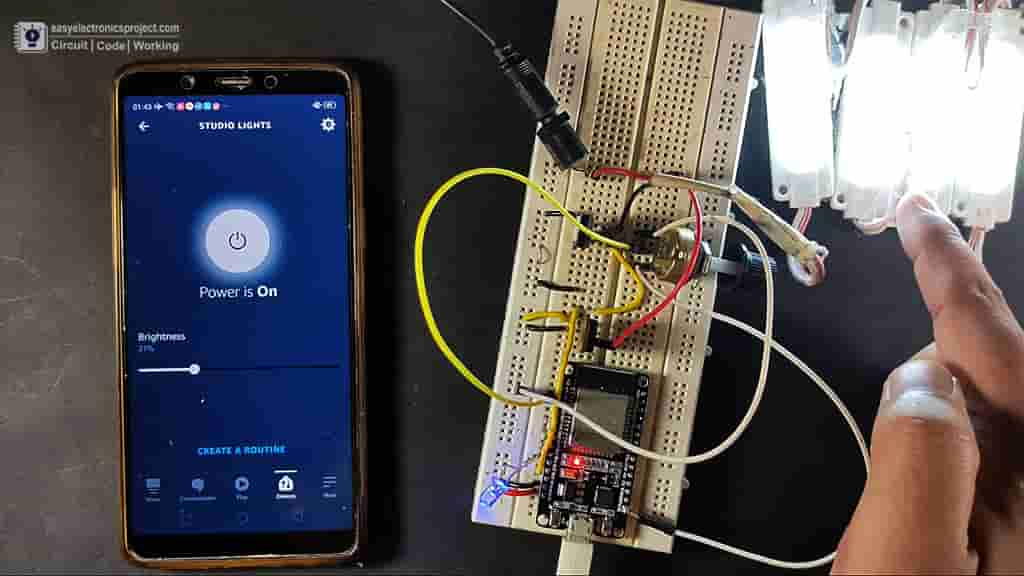
After uploading the code to ESP32 board, we have have to configure the Amazon Alexa App App to control the brightness with voice command
Please refer the tutorial video for configuring Alexa App to connect ESP32 with the echo dot.
Control Brightness with Alexa
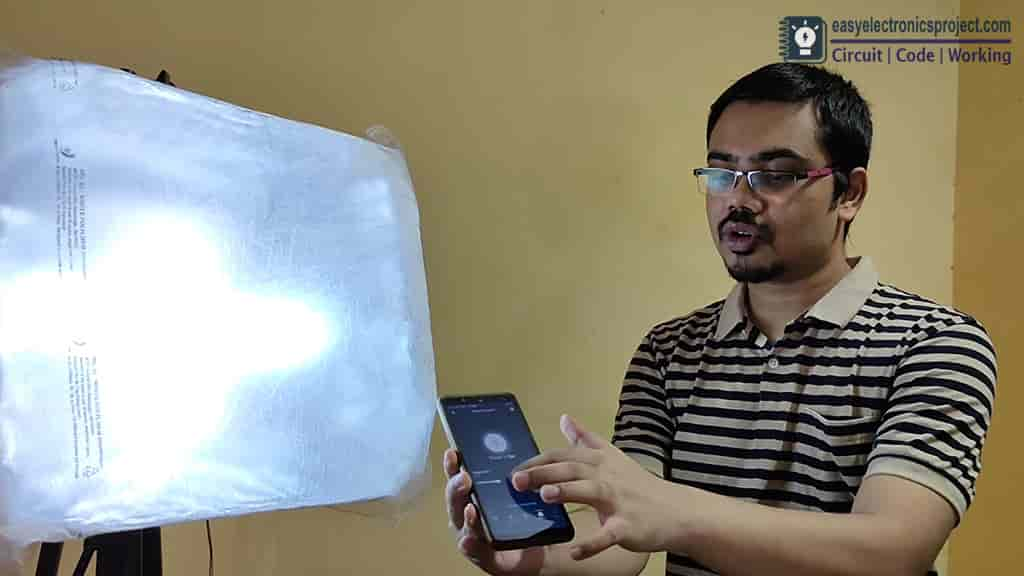
After testing, I have have made the circuit on zero PCB and connected 12V LEDs with circuit.
Now, I can control the brightness of the LED with voice command. I can also control the LED from smartphone using the Alexa application.
No Wifi Mode
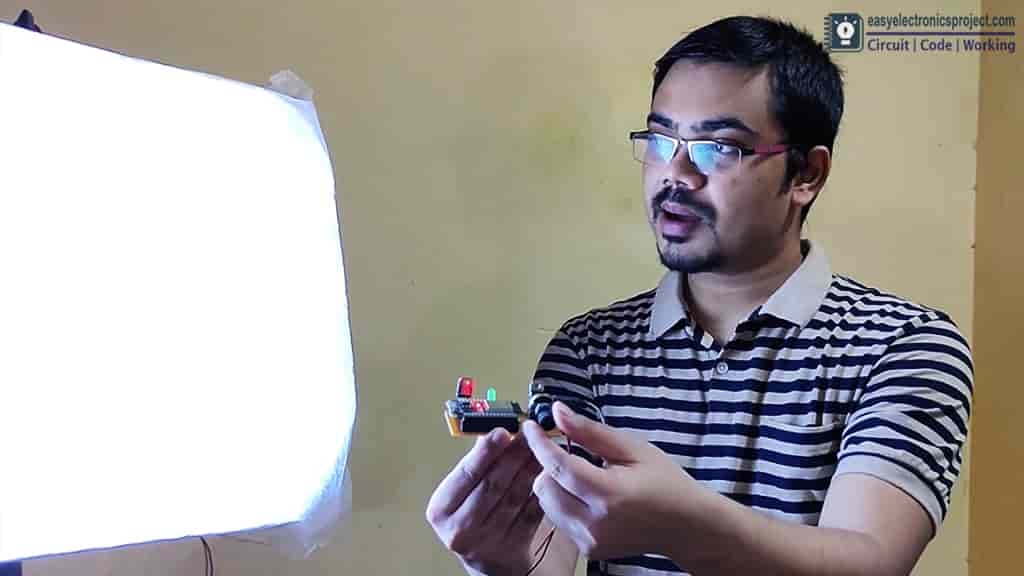
If the wifi is not available, then I can control the brightness with the potentiometer.
I hope you like this Smart home IoT project using the ESP32 and Alexa app.
Click Here for more such ESP32 projects.
Please do share your feedback on this ESP32 project. Thank you for your time.

