ESP32 Google Sheets is one of the easiest ways to build a cloud-connected IoT project without using Firebase or MQTT. In this project, we will create a complete ESP32 Home Automation System using Google Sheets and Google Apps Script.

Google Sheets will work as the cloud database, while Apps Script will act as the backend API to communicate with the ESP32 and web dashboard. This beginner-friendly approach requires no server setup and uses free Google services to control relays from anywhere in the world.
The complete communication workflow is:
ESP32 ↔ Google Apps Script ↔ Google Sheet ↔ Web DashboardThis project is perfect for beginners because it uses free Google services and requires no server setup.
Table of Contents
Tutorial Video on ESP32 Google Sheets
Project Features:
- 4 Relay Control: Control up to 4 appliances remotely from the dashboard.
- Google Sheets Cloud Backend: Store relay states and logs using free Google services.
- Mobile-Friendly Dashboard: Control relays from any smartphone or computer.
- Manual Switch Support: Supports both push buttons and latched switches.
- Dashboard PIN Protection: Prevent unauthorized access using a secure PIN.
- ESP32 API Key Security: Authenticate ESP32 requests before updating cloud data.
- Relay State Synchronization: Keep relay states synchronized between ESP32 and dashboard.
- Activity Logging: Store relay activity history inside Google Sheets.
- Beginner-Friendly Architecture: No Firebase or MQTT required.
Required Components

- ESP32 Development Board
- 4-Channel Relay Module
- Push Buttons or Latched Switches
- LEDs or Bulbs for Testing
- Jumper Wires
- 5V Power Supply
Circuit of the ESP32 Google Sheet project

The circuit is very simple, I have used D23, D19, D18 & D5 GPIO to control the 4-channel relay module.
And, the GPIO D13, D12, D14 & D27 are connected with switches to control the relay module manually.
If you want to use push buttons for manual control, then refer to the following circuit diagram.

I have used the INPUT_PULLUP function in Arduino IDE instead of using the pull-up resistors with each push button.
As per the source code, when the control pins of the relay module receive a LOW signal, the relay will turn on, and the relay will turn off for the HIGH signal in the control pin.
I have used a 5V 5Amp mobile charger to supply the circuit.
Please take proper safety precautions while connecting the AC appliances.

How This Project Works
The project contains four major components:
- ESP32
- Google Apps Script
- Google Sheet
- Web Dashboard
ESP32
The ESP32 controls the relays and reads manual switch inputs.
Google Apps Script
Apps Script works as the backend API that handles communication between ESP32, Google Sheets, and the dashboard.
Google Sheet
Google Sheet works like a cloud database and stores relay states and logs.
Dashboard
The dashboard allows users to control relays remotely from a browser.

Step-by-Step Guide for the ESP32 Google Sheets project
Download all the required files for this ESP32 Google Sheets home automation project
Step 1: Create a Google Sheet
Create a new Google Sheet.
Then, rename it as “ESP32 Relay Project V1”.
Step 2: Open Google Apps Script
Open your Google Sheet.
Navigate to:
Extensions → Apps Script
A new Apps Script project will open.
Step 3: Create Code.gs
Delete the default code and paste the provided Code.gs file.
The Code.gs file acts as the backend API for the entire project.
Paste the Code.gs code here.
It performs the following tasks:
- Receives ESP32 requests
- Updates Google Sheets
- Returns JSON responses
- Handles dashboard login
- Verifies API keys
- Stores logs
Step 4: Configure User Settings
At the beginning of Code.gs, update:
const SPREADSHEET_ID = "YOUR_SHEET_ID";

const ESP32_KEY = "esp32_secure_key";

const DASHBOARD_PIN = "1234";
SPREADSHEET_ID
Paste your Google Sheet ID.
ESP32_KEY
Used to authenticate ESP32 requests.
DASHBOARD_PIN
Used to secure dashboard access.
Step 5: Create the Dashboard

In Apps Script:
File → New → HTML FileCreate:
indexPaste the dashboard HTML code.
The dashboard provides:
- Relay ON/OFF buttons
- Current relay status
- Refresh button
- PIN login page
- Mobile-friendly interface

Step 6: Deploy the Web App
Click:
Deploy → New Deployment → Select “Web App” (from gear icon)
Configure:
Execute As
MeWho Has Access
Anyone
Who Has Access: Anyone
Select Anyone so that the ESP32 can access the Google Apps Script API without requiring a Google account login. During the first deployment, Google may display a warning such as “Google hasn’t verified this app” and ask you to authenticate.
This is normal because the Apps Script project is created by you and has not been submitted for Google’s verification process. Simply review the permissions and continue if you trust the project.
After deployment, Google generates a URL ending with:
/execCopy this URL.
We will use this URL in the ESP32 sketch.
Step 7: Configure ESP32 Code
Open the Arduino sketch.

Update Wi-Fi credentials:
const char* ssid = "YOUR_WIFI";
const char* password = "YOUR_PASSWORD";
Update Apps Script URL:
const char* GOOGLE_SCRIPT_URL =
"https://script.google.com/macros/s/XXXX/exec";
Update API Key:
const char* ESP32_KEY =
"esp32_secure_key";
The ESP32 key must match the key used in Code.gs.
Step 8: Select Manual Switch Type
The sketch supports two manual control methods.
Push Button
#define MANUAL_CONTROL_LATCHED 0Latched Switch
#define MANUAL_CONTROL_LATCHED 1Choose the mode according to your hardware.
Also, select the Relay module type (Active-HIGH or Active-LOW)
#define RELAY_ACTIVE_LOW 1Step 9: Upload the Code
Connect the ESP32 to your computer.
ESP32 board must be installed in Arduino IDE (version 2.0.14).
Select the correct board (DOIT ESP32 Dev KIT V1) and COM port.
Upload the sketch.
After booting:
- ESP32 connects to Wi-Fi
- Relays initialize
- Cloud synchronization starts
Step 10: Test the Dashboard
Open the deployed web app URL.
Enter the dashboard PIN.
Now you can:
- Turn relays ON/OFF
- View relay states
- Refresh current status
- Verify synchronization

ESP32 Cloud Communication Workflow

Dashboard Control Workflow
Dashboard → Apps Script → Google Sheet → ESP32
When a relay button is pressed:
- Dashboard sends command to Apps Script
- Apps Script updates Google Sheet
- ESP32 synchronizes relay state
- Relay changes status

Manual Switch Workflow
Switch → ESP32 → Apps Script → Google Sheet
When a physical switch is pressed:
- ESP32 detects the switch
- Relay toggles instantly
- New state is sent to Apps Script
- Google Sheet updates automatically
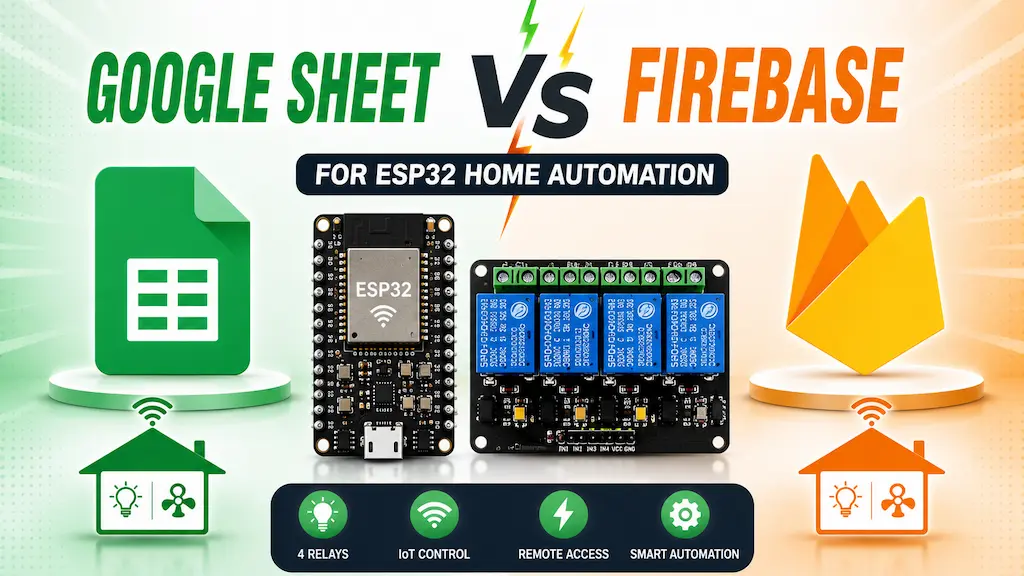
Google Sheets vs Firebase
Many viewers ask whether Google Sheets can replace Firebase.
The answer depends on the project requirements.
Google Sheets Advantages
- Easy setup
- Beginner friendly
- Free to use
- No Firebase configuration required
- Easy debugging
Google Sheets Limitations
- Not fully real-time
- Slower synchronization
- Less secure because public access is often required
Firebase Advantages
- True real-time updates
- Better authentication
- More secure
- Supports multiple ESP32 devices efficiently
Firebase Limitations
- More complex setup
- Learning curve for beginners
For learning and small home automation projects, Google Sheets is an excellent choice.
For production-grade IoT systems, Firebase is usually the better option.
Troubleshooting
Dashboard Not Opening
Verify that the HTML file name matches:
indexand the Code.gs file contains:
createHtmlOutputFromFile("index")ESP32 Cannot Access API
Check:
- Web App deployment permissions
- Apps Script URL
- ESP32 API key
Relays Not Updating
Verify:
- Wi-Fi connection
- Google Sheet ID
- Relay wiring

Conclusion
In this project, we learned how to build an ESP32 Home Automation System using Google Sheets and Google Apps Script without Firebase or MQTT.
This beginner-friendly architecture allows you to control relays remotely, store data in the cloud, and create a mobile-friendly dashboard using free Google services. It is an excellent project for learning cloud-based IoT systems and understanding how ESP32 communicates with web applications.
Click Here for more such ESP32 projects.
Please do share your feedback.


