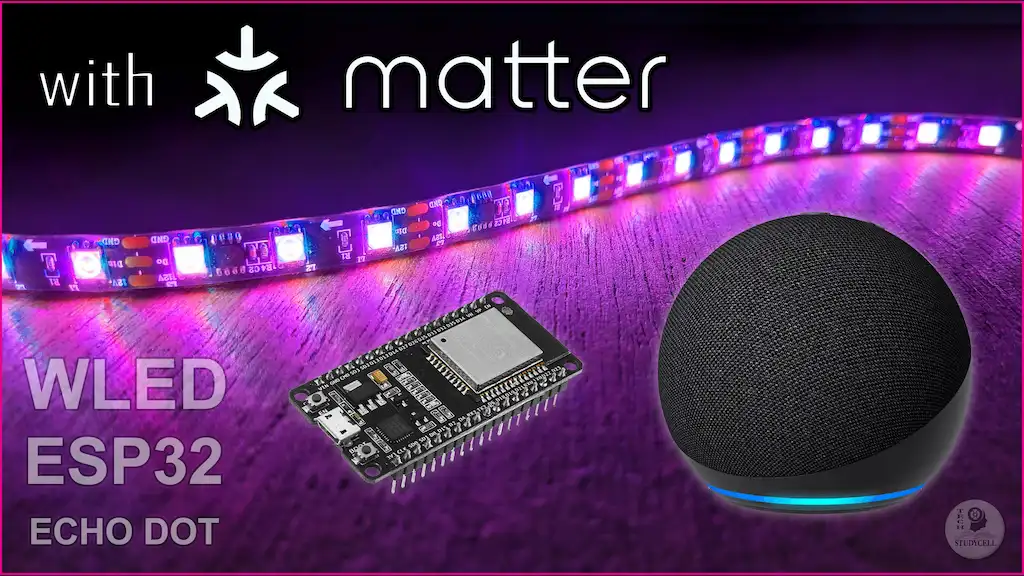
In this Internet of Things tutorial, I have explained how to get started with Matter Protocol using the ESP Zerocode platform and ESP32.
Table of Contents
What is Matter Protocol?
Matter, an open-source connectivity standard for IoT and smart home devices, prioritizes compatibility and interoperability across various manufacturers while emphasizing user security through local control options.
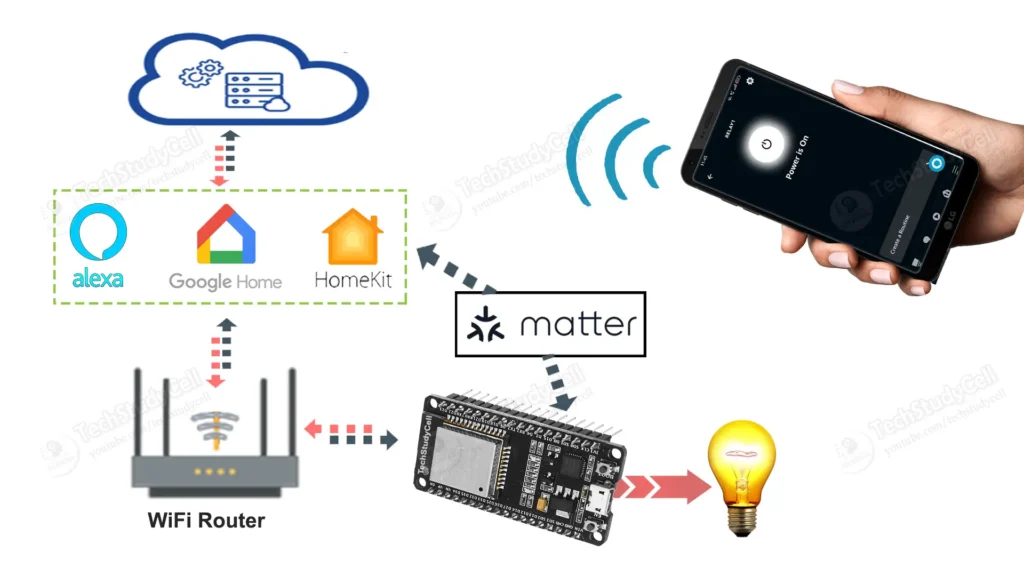
Using Matter protocol you can easily connect the ESP32 with most of the IoT platform through the internet, but you must have a hub/gateway for that particular IoT platform.
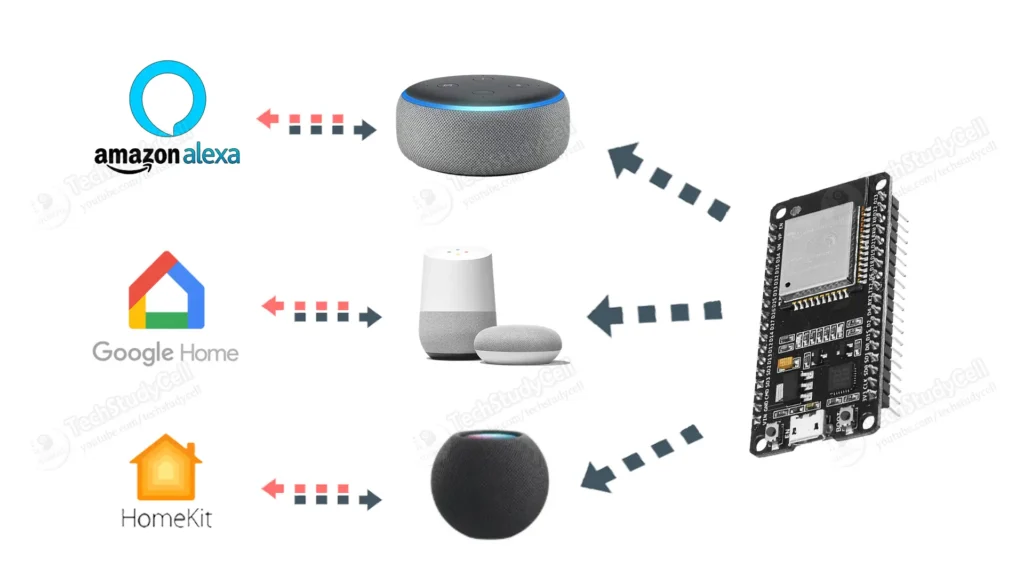
To connect Alexa, you need an Echo device, for Google Home, you need a Google Nest mini…
The ESP32 will be connected to the hub which is within the same WiFi network. The hub is connected to the IoT cloud server of that IoT platform.
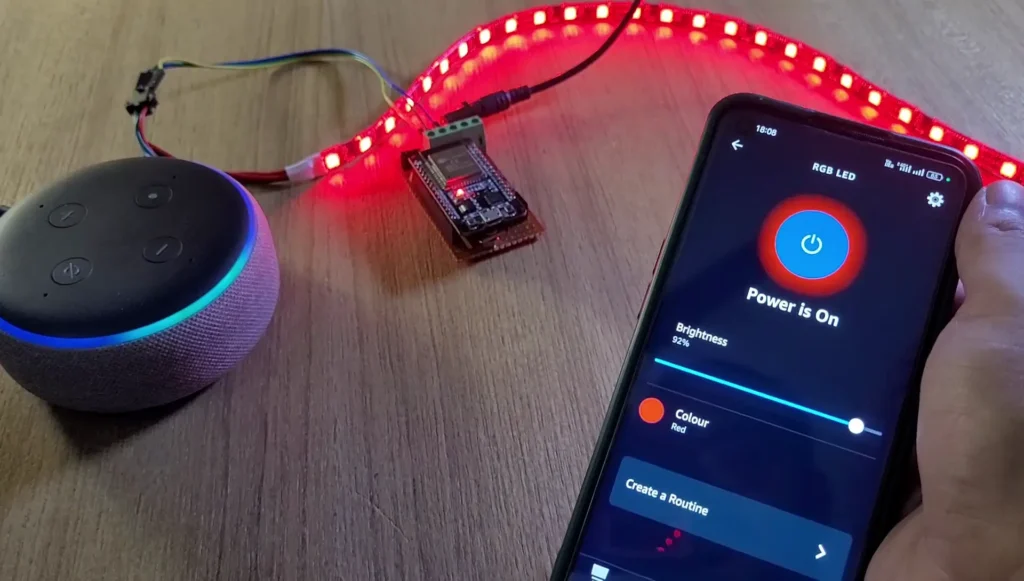
Here we will control an LED strip with Alexa using Matter Protocol.
Circuit for the ESP32 WLED project
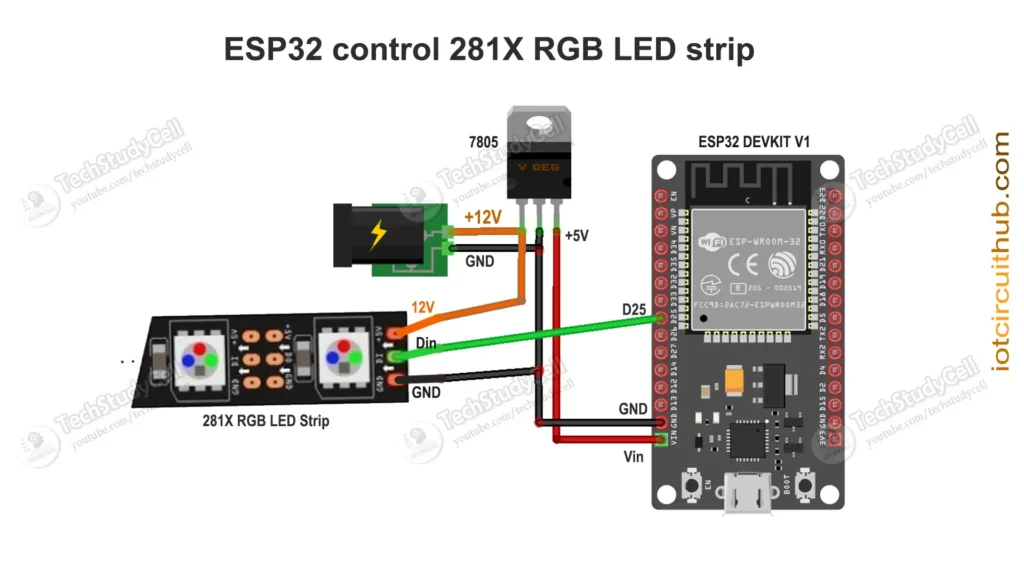
In the circuit, I have connected the D25 with the Din pin of the LED strip. And used a 7805 voltage regulator to provide the 5V supply to ESP32.
If you use 5V WS2812 LED strip, the voltage regulator is not required. You just need the ESP32 and the LED strip.
Tutorial video on ESP32 Matter Protocol
In the Matter tutorial video, I have covered the following steps in detail.
- Circuit for the ESP32 WLED project.
- Install Matter firmware to ESP32 using ESP ZeroCode.
- Steps to connect Amazon Alexa using Matter protocol.
Now to prepare a Matter-certified firmware and install it to ESP32, we will use ESP ZeroCode platform.
What is ESP ZeroCode platform?
ESP ZeroCode is a web-based application specifically created to prepare Matter-certified firmware for ESP32 devices as per the user’s preferences and specifications.
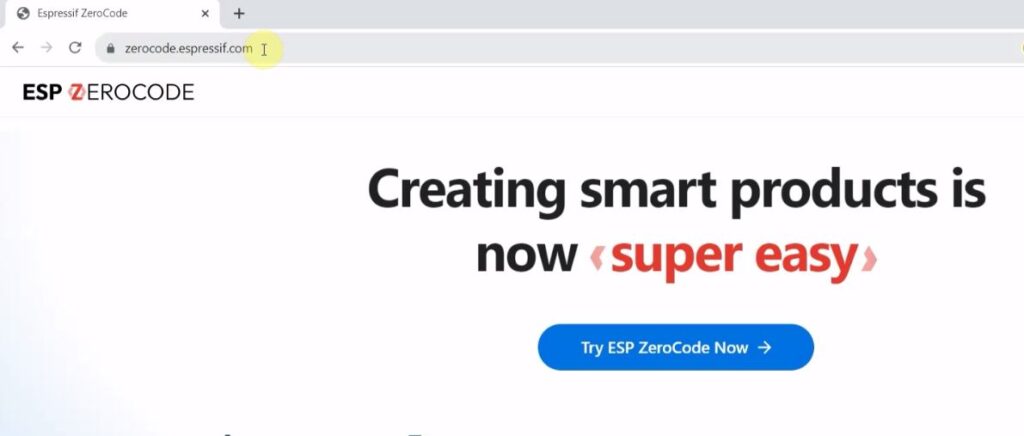
First, visit the ESP ZeroCode: https://zerocode.espressif.com/
ESP Launchpad makes use of WebUSB to communicate with the device. Currently, Safari & Firefox browsers don’t support it yet.
Recommended browser: Google Chrome
Then create an account in ESP ZeroCode.

Login to your account using your email ID and password.
Also, connect the ESP32 to your laptop.
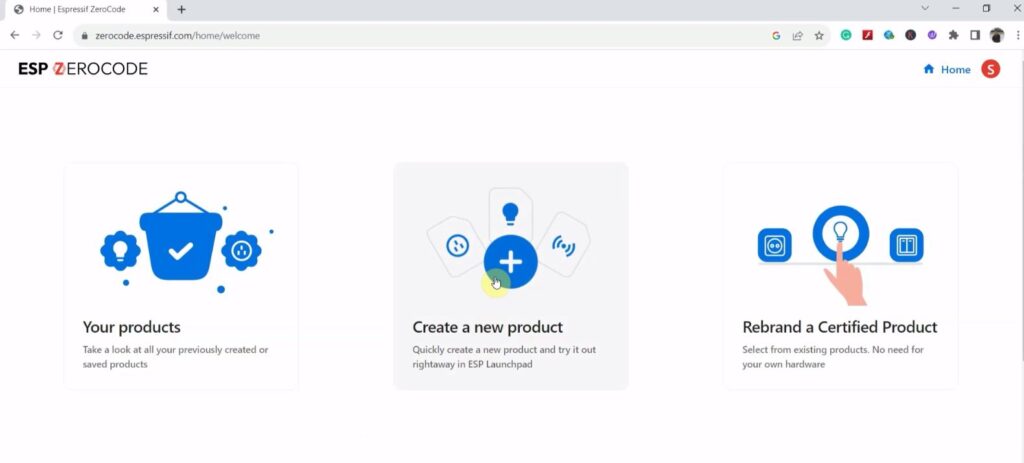
Click on “Create a new product“.
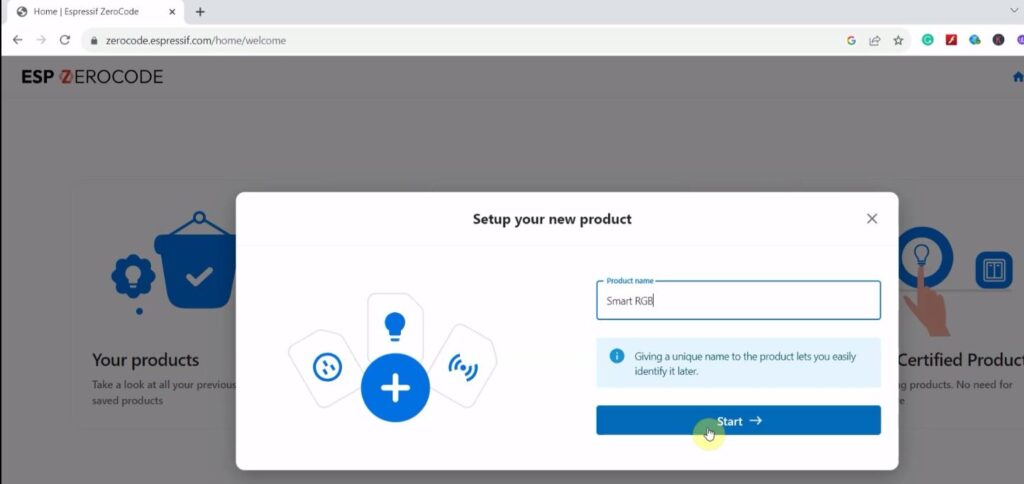
Enter a name for the product.
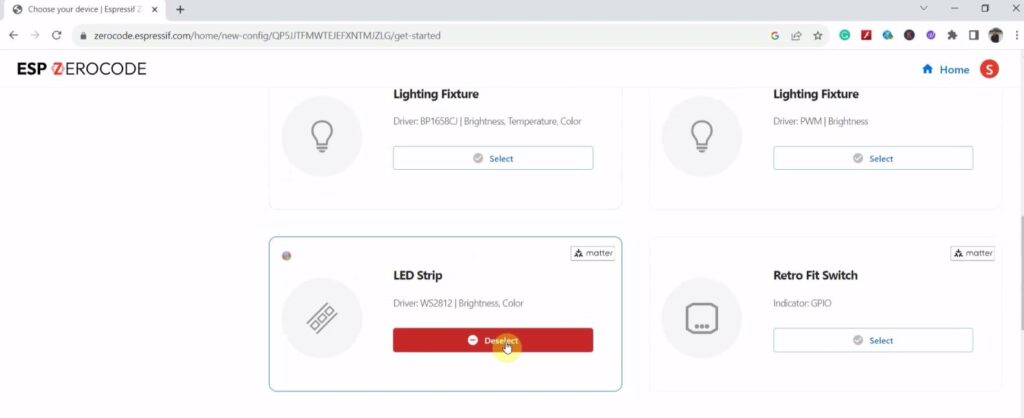
Now you have to select the product type according to the product (Socket, Plug Lights, etc).
Here we are going to control an LED strip, so I have selected the LED Strip.
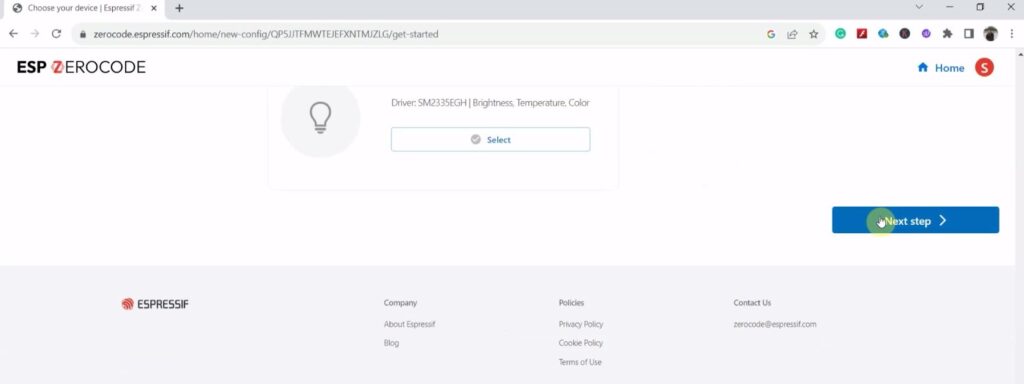
Now click on “Next step“.
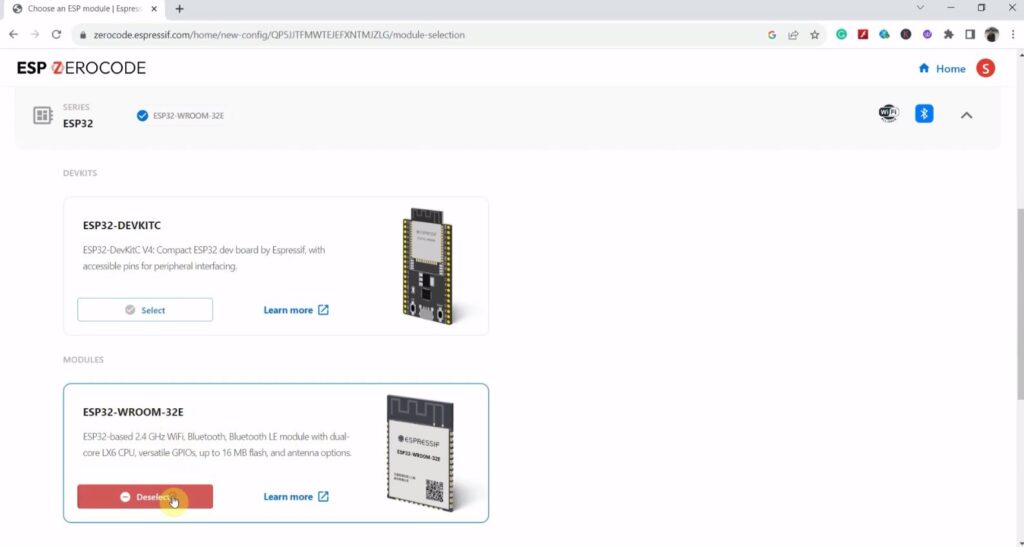
Now select the type of ESP32 board that you are going to use.
Here I will use DOIT ESP32 DEVKIT V1, so I have selected “ESP32-WROOM-32E” under ESP32.
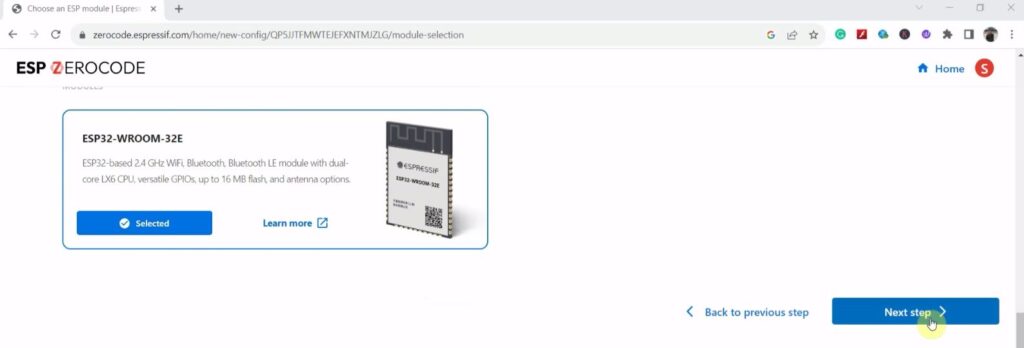
Now click on “Next step“.
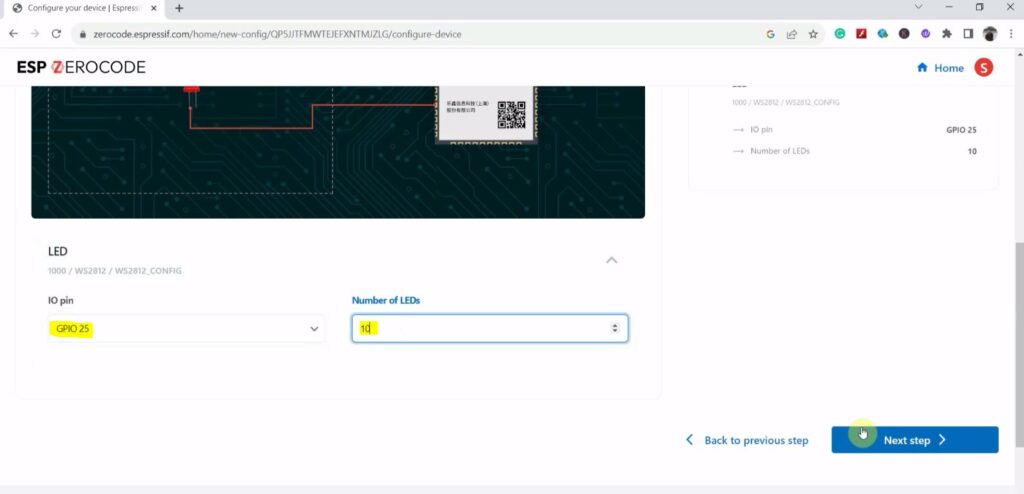
Now select the GPIO details as per your circuit.
As per the circuit, the D25 GPIO is connected with the LED Din pin, so in the IO pin, I have selected GPIO 25.
And here I want to control the first 10 LEDs in the strip, so I have entered 10 in the “Number of LEDs“.
Now click on “Next step“.
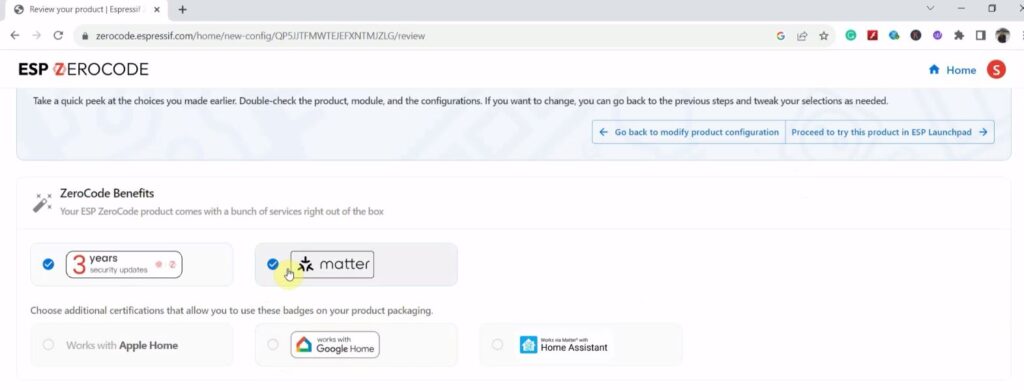
By default, the radio button of matter and 3-years update will selected. Keep it as it is.
If you want to add the device to Google Home, then you have to create a certificate.
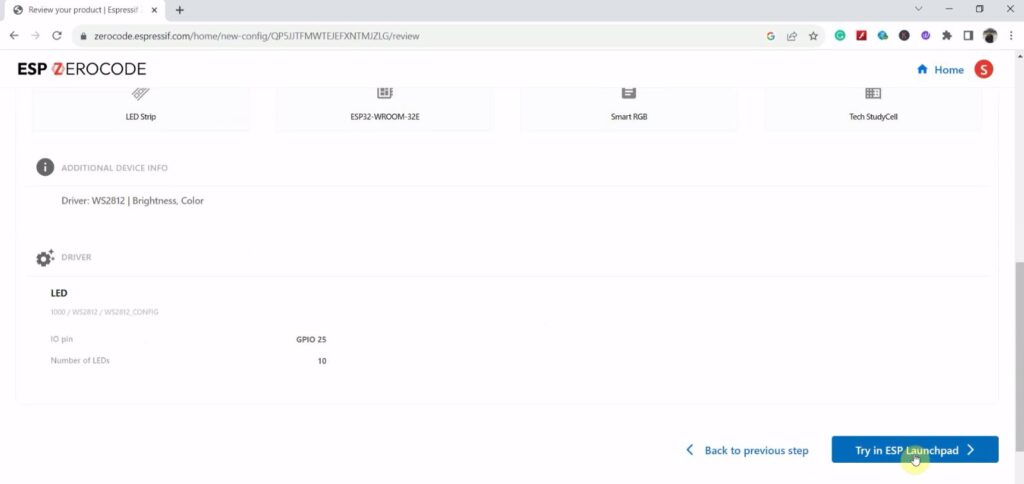
Now click on “Try in ESP Launchpad“.
It will prepare the firmware for the ESP32.
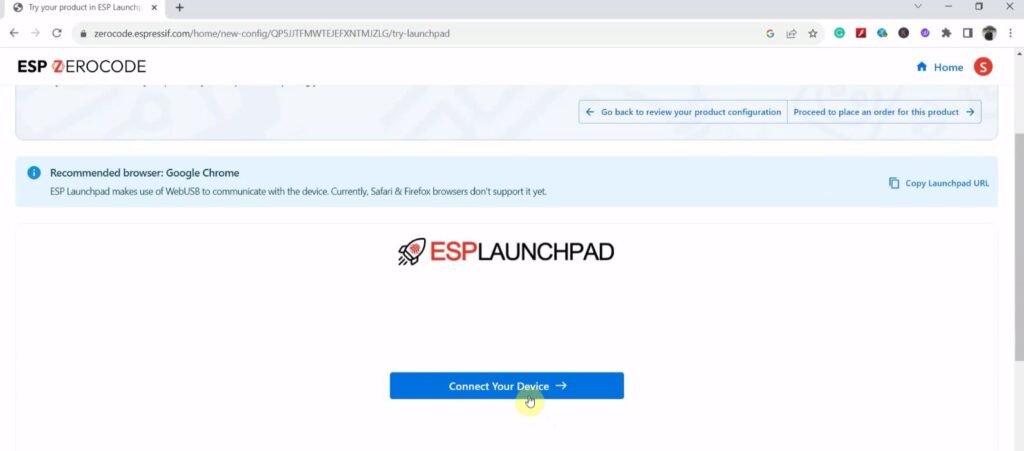
Make sure the ESP32 is connected with the laptop.
Click on “Connect Your Device“.
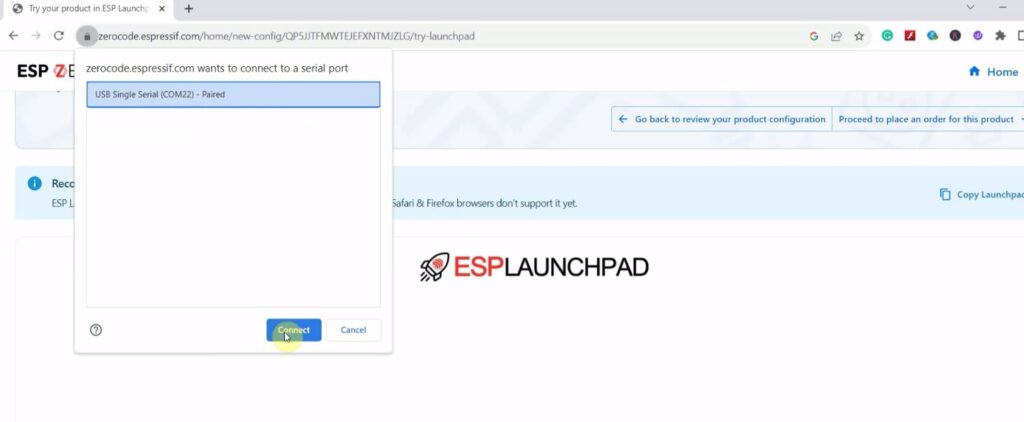
Now select the COM port where ESP32 is connected. Then click on “Connect“.
Then it will start uploading the firmware to ESP32.
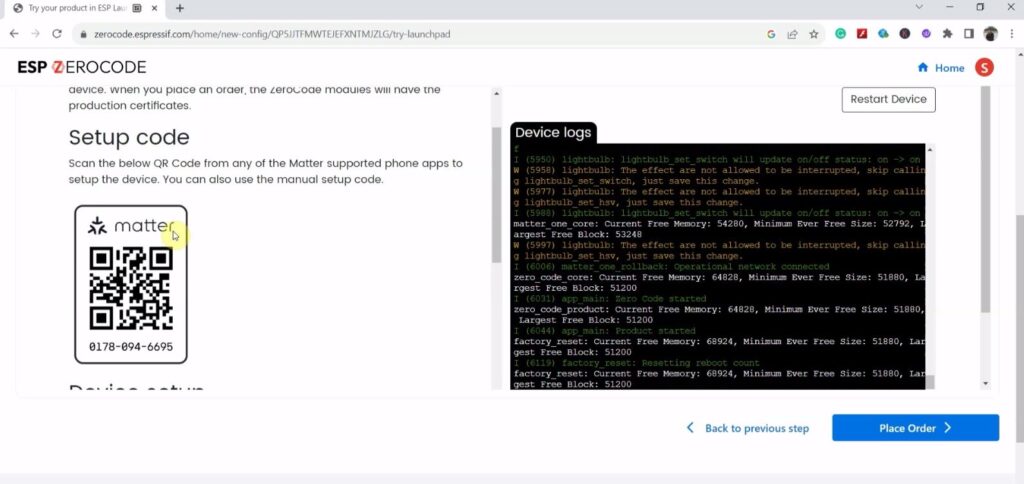
After uploading the firmware, you will get the Matter QR code for the device.
You can use this QR code to connect the ESP32 with different IoT platforms.
Here we will add the device to Amazon Alexa. So the Echo Dot must be connected to the same WiFi network.
Now turn on the Bluetooth and Location/GPS on your mobile and open the Amazon Alexa app.
Connect Alexa using the Matter QR code
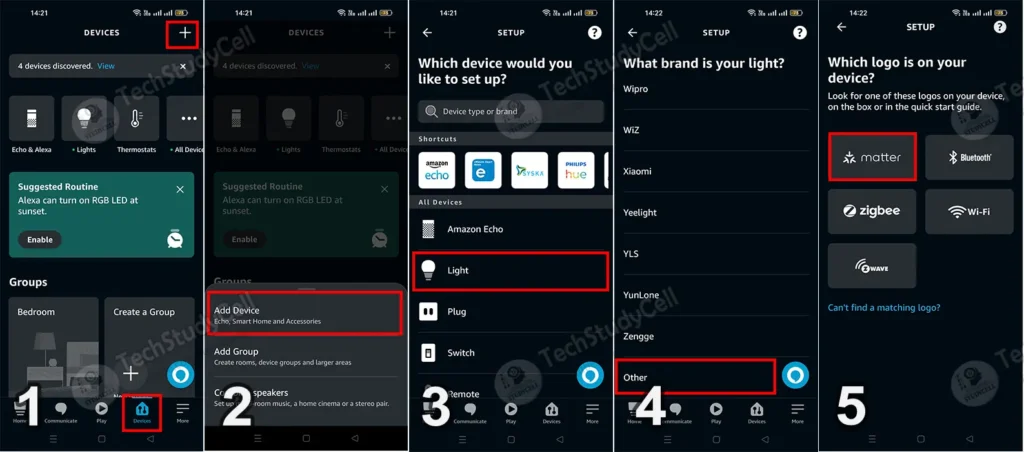
- Open the Amazon Alexa app, go to “Device” and tap on “+” icon.
- Tap on “Add Device“.
- Select “Light“.
- Scroll down and select “Other“.
- Tap on “matter“.
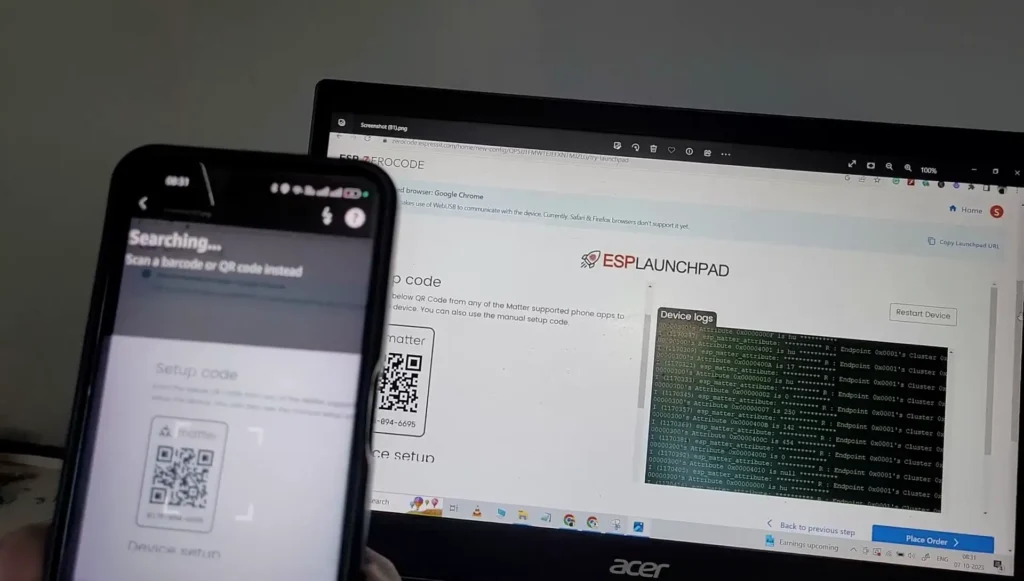
Now scan the matter QR code.
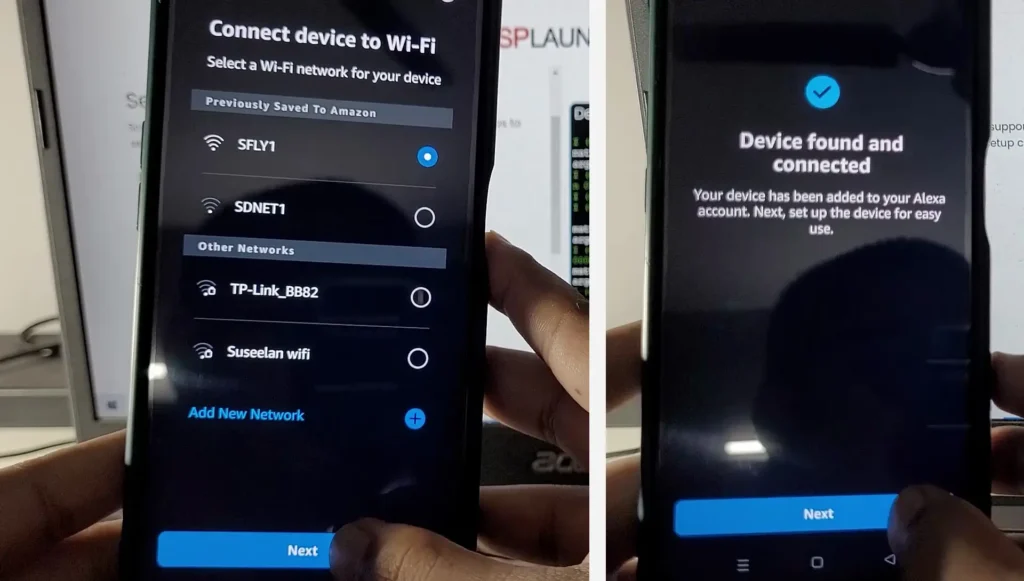
Then select the WiFi name. ESP32 will be connected to this WiFi network.
Tap on “Next”, and the device will be added to the Alexa app.
Under the Device — Lights, you will find a new device called “First Light”.
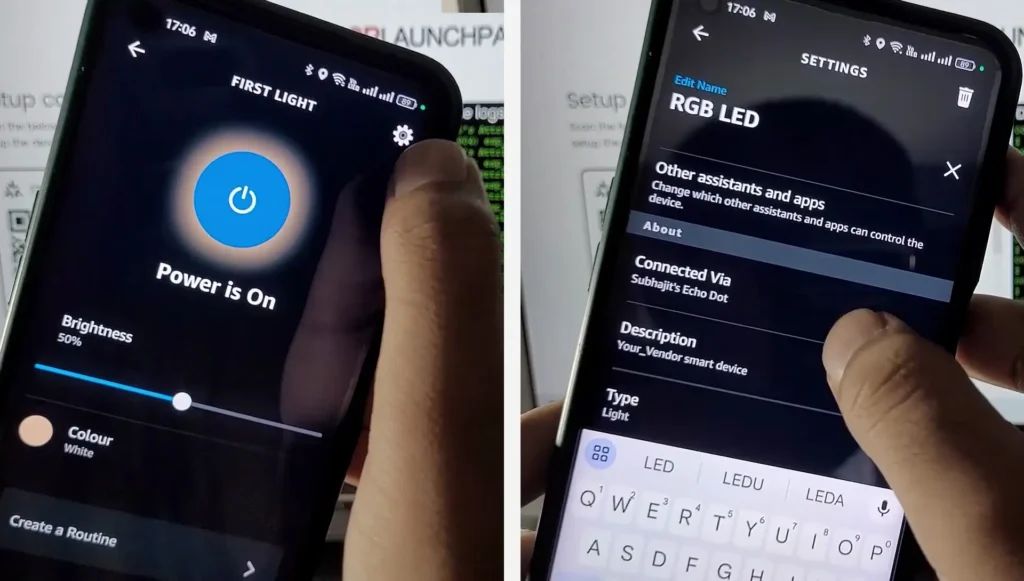
To rename the device, tap on the device. Go to settings (gear icon), tap on Edit Name.
Enter a new name, then tap on outside the box. the new name will be saved.
Now connect the ESP32 with the circuit. Although the circuit is very simple, I have designed a PCB for this project.
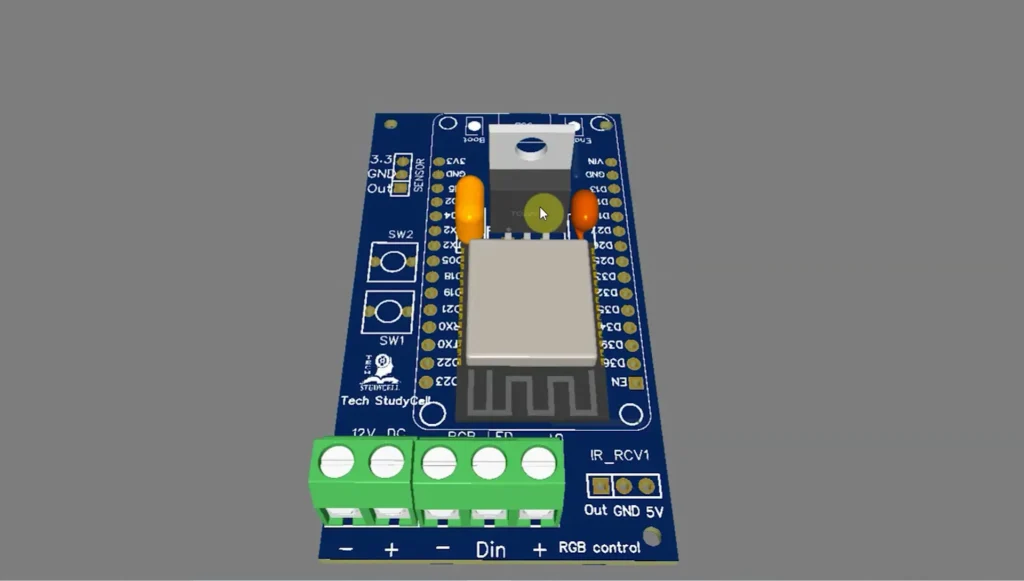
If you want, you can also use this PCB to make the circuit compact and give the project a professional look. This PCB can be used for any other ESP32 WLED project.
You can order any custom-designed PCBs from PCBWay at very reasonable prices.

You can also explore different PCB projects from their Open-source community pcbway.com/project/.

PCBWay Design Contest has always encouraged participants to engage in open-source and innovative projects, aiming to inspire more individuals to become a member of the electronics community.
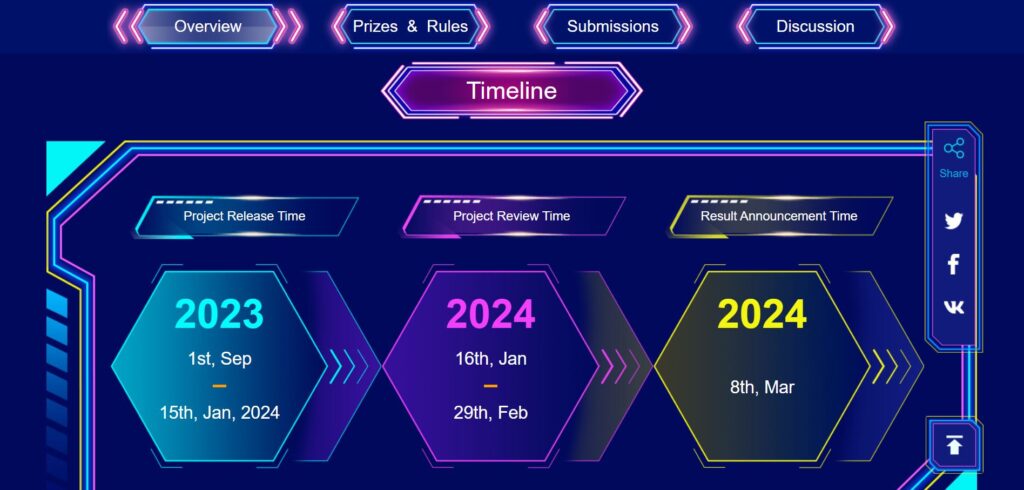
In the contest, you have the opportunity to enter a wide range of submissions related to electronic design, spanning FPGA, IoT projects, wearables, embedded electronics, and also encompassing mechanical design, product design, or 3D design.
For more details please click here.
Control the LED strip with Amazon Alexa
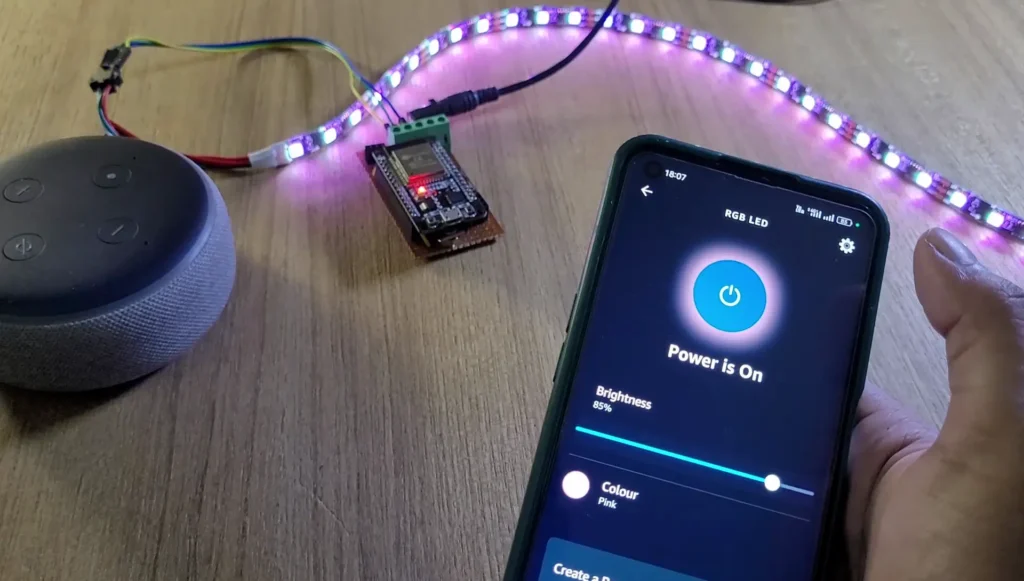
Now you can easily turn ON/OFF the LEDs, control the brightness, and change the color of the LED strip from the Amazon Alexa app.
Only the Echo Dot and ESP32 must be connected to the same WiFi network. But your mobile can be connected to any different network. So you can control the LEDs from anywhere in the world through the internet.

